Showing posts with label Vegetables. Show all posts

Tuesday, November 20, 2012

NOT Your Mom's Green Bean Casserole

I've decided to throw in a bonus recipe this week, in honor of Turkey Day! I just happened to dig this one up, and decided that it needed immediate sharing in time to make it to your Thanksgiving table. But don't go getting used to this two-posts-in-a-row-thing. ;)

I am perfectly happy with the old Campbell's cream of mushroom soup version of the holiday favorite, Green Bean Casserole. The first Thanksgiving my husband and I spent together (just our little family), I proudly made the old American classic and plopped it down on the table at dinner time. After one bite, his face told me all I needed to know. Blech.

Let's face it. Many of us have grown up with this version, and have come to love it the way we love Kraft Mac and Cheese in the blue box - because it tastes like childhood. But that doesn't mean it's actually good. It's not. I'm sorry. (The casserole that is, the blue box is still amazing, and you can't convince me otherwise.)

So, I introduce to you my adult version of green bean casserole for your holiday table. It's out of this world, and still has some elements of the traditional casserole for nostalgia's sake. And bonus, if you make this version, you'll even earn yourself a seat at the grown-up's table. Winning!

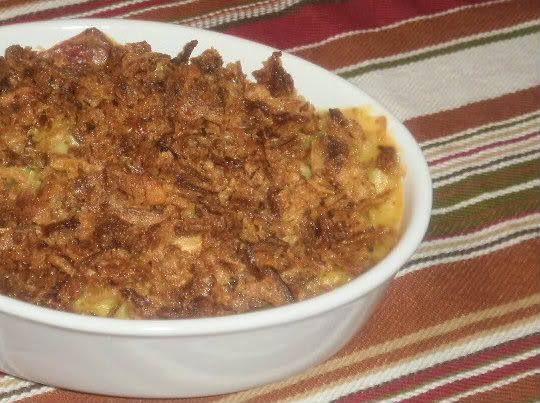
(Sorry, this picture sucks, just trust me - it's fabulous.)


NOT Your Mom's Green Bean Casserole

  • 1/2 lb bacon - cooked and crumbled (I cook mine in the oven now to avoid the mess, and it works beautifully! For a tutorial, go here! You can also use bacon bits from the salad section of the store if you don't want to go to the trouble to cook the bacon yourself.) 
  • 1 stick of butter
  • 1/2C flour
  • 1 1/2C chicken or vegetable broth
  • 1 1/4C shredded cheddar cheese
  • 1 bag of frozen green beans (defrosted) OR 2 cans of green beans of your choice (I use canned, because that's just what I prefer, I've used both regular cut and french style green beans.)
  • 1/2 teaspoon salt
  • 1/4 teaspoon pepper
  • 1 teaspoon garlic powder
  • French fried onions

Directions:

Preheat oven to 350.

Melt the butter in a saucepan on medium heat, and whisk in the flour, stirring for 1 minute. Slowly add in chicken broth and whisk for about 5 minutes. Add salt, pepper, and garlic powder, continuing to stir until thickened. Next, add cheddar cheese until melted.

Pour green beans and bacon bits into cheese mixture and stir to combine.

Transfer to a 9x9 pan (Or any other pan of a similar size. Pie pans work too, or other round baking dishes as I've used here.) Top with french fried onions, and bake for 30 minutes.

Dig in!

Wednesday, April 6, 2011

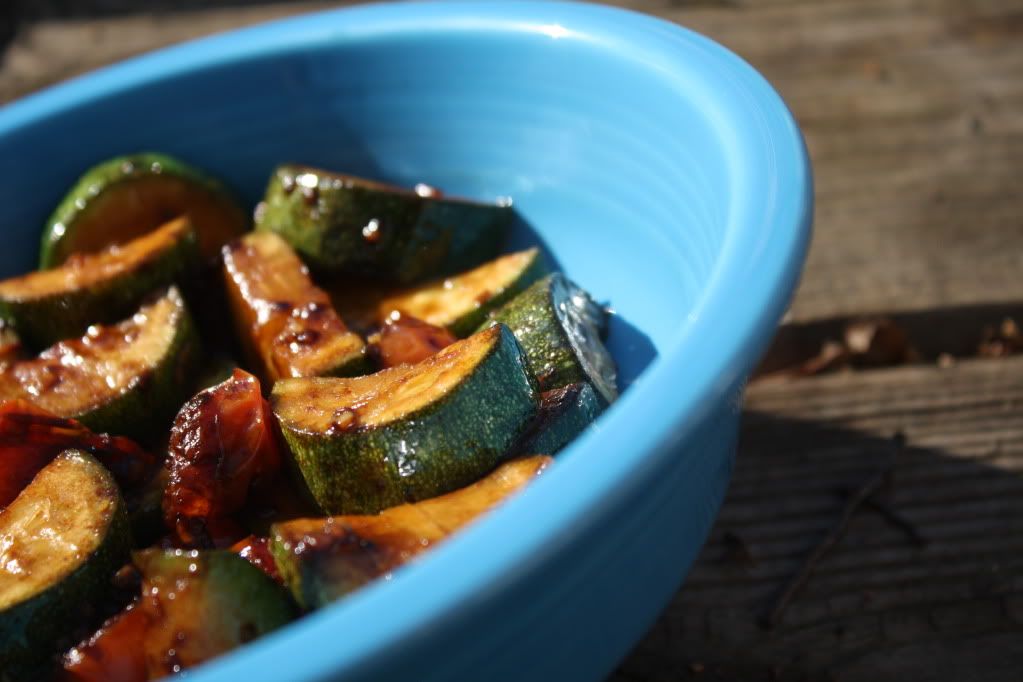
Balsamic Zuchinni and Grape Tomatoes

With fresh veggie season right around the corner, I decided to pull out this old favorite! Its so easy that you don't even need measurements, you just throw it all in the pan and it does the rest. This is a fantastic side dish and even a satisfying meal if you're trying to keep it super light! If I have my way with my garden this year, grape tomatoes and zucchini will abound and this will surely be a summer staple. Enjoy!


Balsamic Zuchinni & Grape Tomatoes
  • zuchinni, chopped
  • grape tomatoes, halved
  • 1-3 cloves of garlic, chopped
  • cooking spray
  • balsamic vinegar
Directions:
Spray a large skillet with cooking spray.
Saute garlic for a few minutes to soften, then add vegetables.
Cook until tender and during the last few minutes of cooking, put a few dashes of balsamic vinegar in the skillet and toss to coat vegetables.

Thursday, March 24, 2011

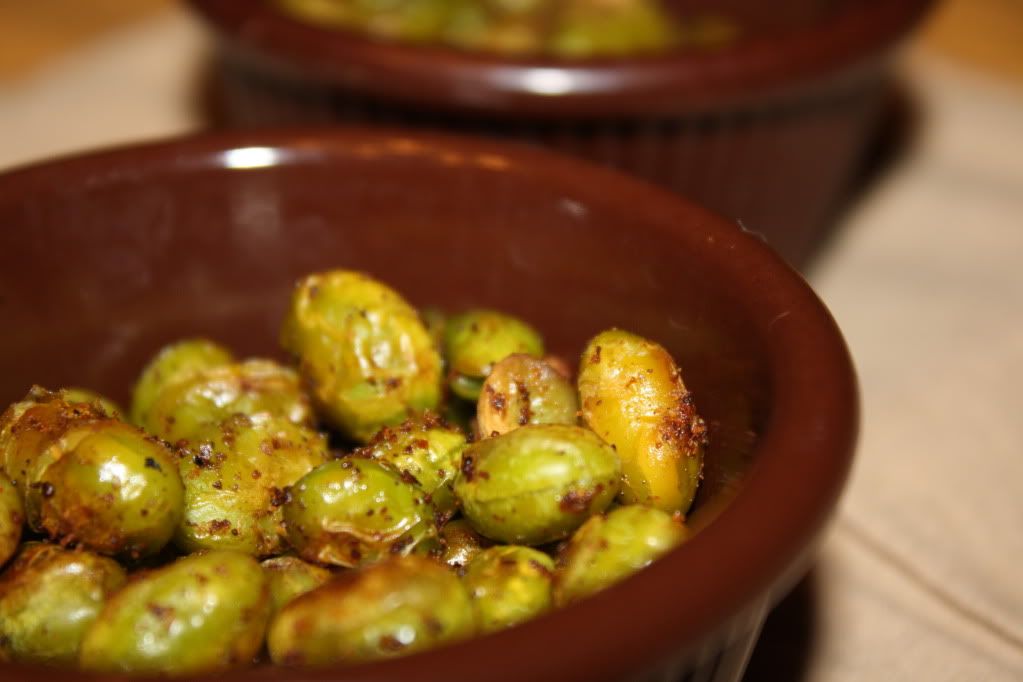
Spicy Roasted Edamame

Edamame is one of my all time favorite snacks, and its so incredibly nutritious. I normally eat edamame right out of the little pods, sprinkled with a bit of sea salt. Don't you love it when one of those beans goes flying across the room at fifty miles per hour and smacks your toddler in the head? Good times.


Upon my recent mission of roasting every vegetable known to man, edamame was next on the list. If is is possible for it to taste even better, it does! It takes on a nutty flavor and a bit of a crunchy texture, which goes perfectly with the spicy coating. This one's a winner!


Spicy Roasted Edamame
  • 1 1/4 cups frozen shelled edamame, thawed

  • 1/2 teaspoon chili powder

  • 1/4 teaspoon garlic powder

  • 1/4 teaspoon ground cumin

  • 1/8 teaspoon ground black pepper

  • cooking spray


  • Directions:
    Preheat oven to 400.
    Pat edamame dry with paper towels.
    Place in a bowl and give the edamame a few squirts of cooking spray and toss to coat.
    Add in spices and mix well.
    Spray a baking sheet and arrange edamame in a single layer.
    Roast for 20-30 mins, flipping a few times during cooking.

    Tuesday, March 22, 2011

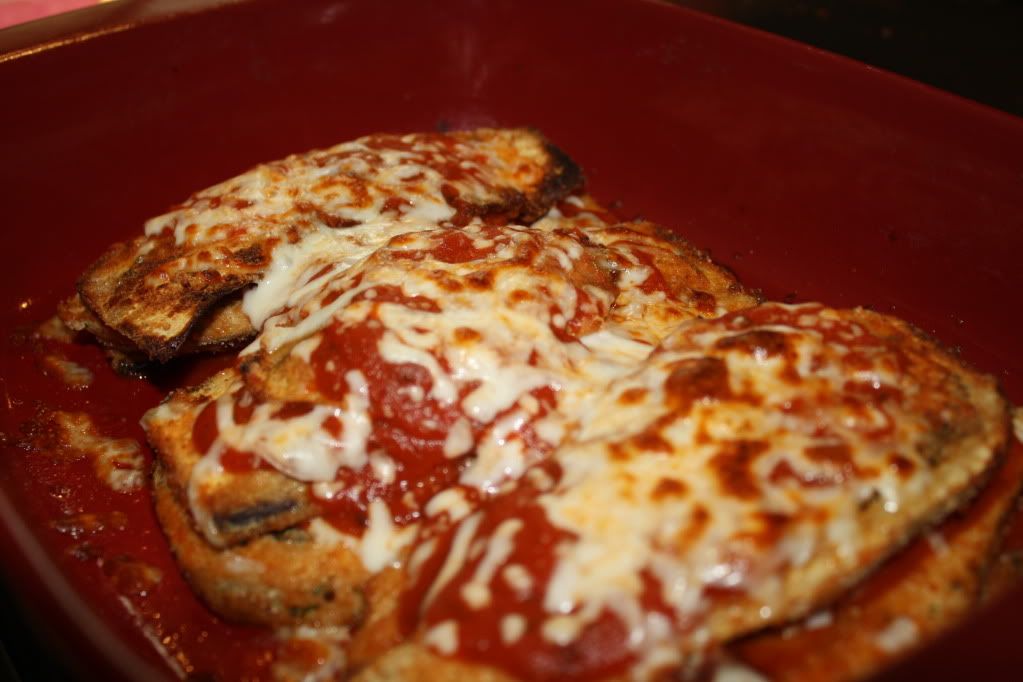
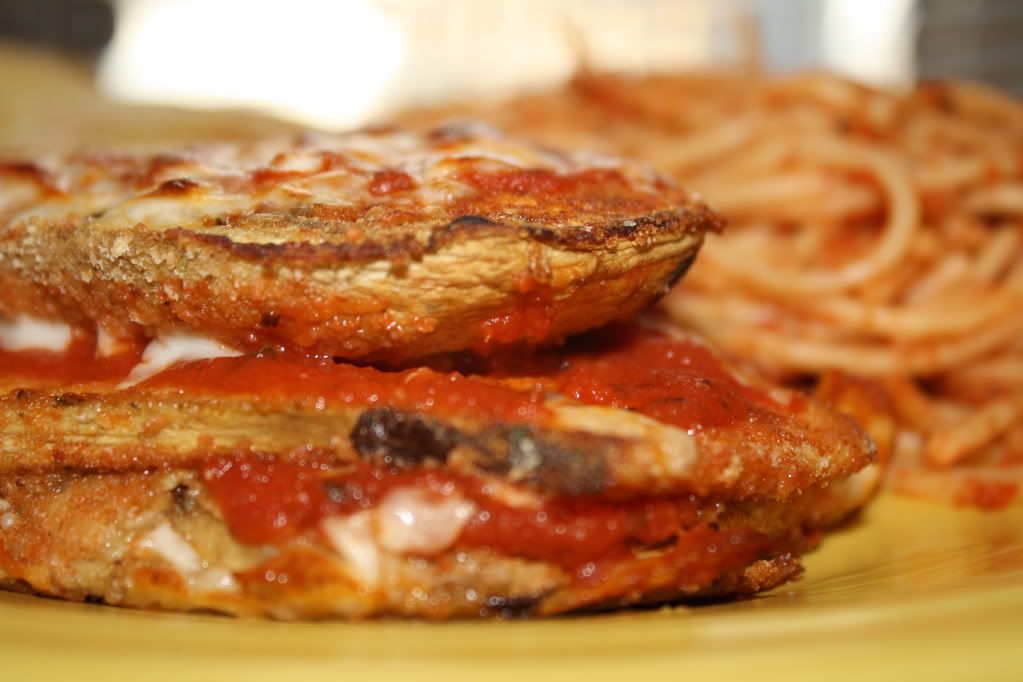
    Eggplant Parmigiana

    Alright, I'd like to know who is responsible for keeping eggplant away from me my entire life? Hmm? Anyone care to step up and admit it?


    Seriously people, HOW have I missed out on this for the past 27 years??? Its not cool. Since veggies are your friend while trying to slim down, I'm always looking for new ones to try. Eggplant is a winner! So is this recipe at only 5p's for 1/3 of the whole pan!


    Eggplant Parmigiana
    source: weightwatchers.com

    cooking spray
    1/3C Italian style breadcrumbs
    1T Parmesan cheese
    1tsp Italian seasoning
    1/4t garlic powder
    1 medium eggplant, raw
    2 large egg whites, slightly beaten
    1.5C canned tomato sauce
    1/2C shredded mozzarella

    • Preheat oven to 350°F. Coat a 9 X 13-inch baking dish with cooking spray; set aside.

    • Combine bread crumbs, Parmesan cheese, Italian seasoning and garlic powder in a medium-size bowl; set aside. Remove skin from eggplant and trim off ends; slice eggplant into 1/2-inch-thick slices.
       
       
    • Dip eggplant first into egg whites and then into bread crumb mixture. Bake eggplant on a nonstick cookie sheet until lightly browned, about 20 to 25 minutes, flipping once.
       
       
    • Place a layer of eggplant on bottom of prepared baking dish, then add 1/3 of tomato sauce and 1/3 of mozzarella cheese. Repeat with 2 more layers in same order. Bake until cheese is melted and sauce is bubbling, about 10 minutes more. Slice into 4 pieces and serve.

    Monday, March 21, 2011

    Purple Popcorn

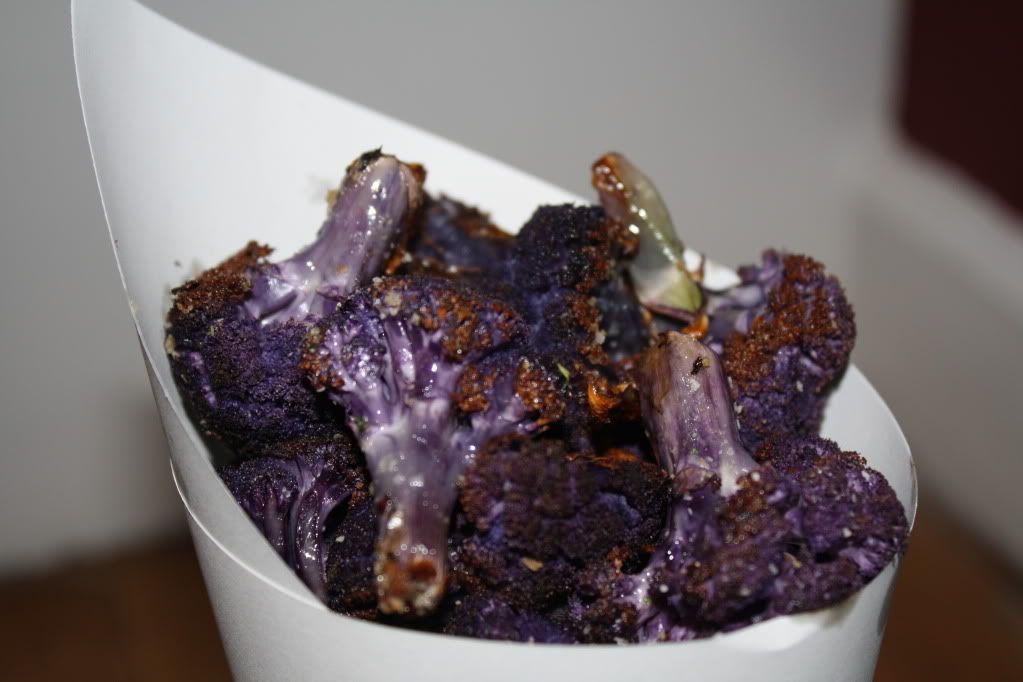
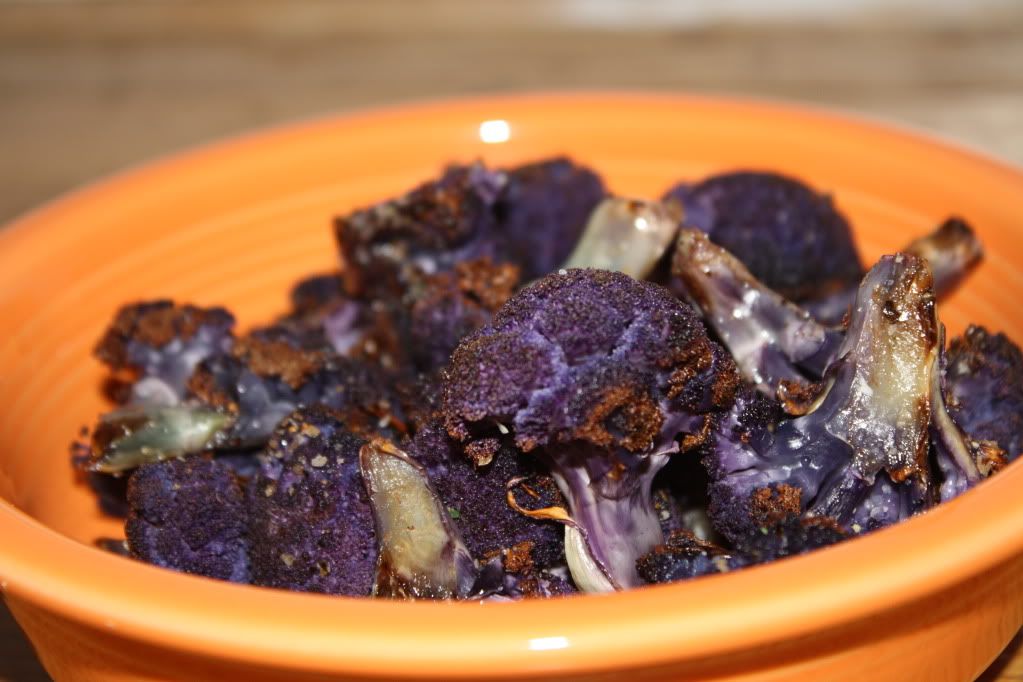
    You probably have no idea where I'm going today with a title like "Purple Popcorn," but its really just a dressed up old favorite. Roasted Cauliflower has become one of my most favorite snacks, and I wanted to come up with a way to change it up a little. While browsing in the produce section the other day, I came across purple cauliflower. I'd seen it before but never tried it and I saw the potential for a unique dish so I grabbed some.


    You can certainly do this with regular old white cauliflower, and it would probably look more like actual popcorn if you did, but "Purple Popcorn" has a fun little ring to it, right? My two-year old insisted on calling this "candy flower" instead of cauliflower, and who am I to spoil her fun? For this recipe all you need is a good popcorn seasoning, like one of these:
     
     
    Although, I'd advise against a sweet flavoring, I'm not sure how well that would mesh with the cauliflower. I used white cheddar for my popcorn and it was delicious! Make this for your next family movie night and you'll be surprised to see your little ones gobble it up just like they would regular popcorn!


    Purple Popcorn
    • 1 head of purple cauliflower
    • Popcorn seasoning
    • Butter flavored cooking spray
    Directions:
    Preheat oven to 425.
    Cut cauliflower into popcorn sized florets.
    Spray foil lined pan with butter flavored cooking spray and spread out cauliflower.
    Spray again and sprinkle on the popcorn seasoning. Toss to coat.
    Bake for 20-30 minutes, flipping once during cooking.


    Tuesday, March 1, 2011

    Green Bean Fries

    You can't see me, but I'm actually jumping up and down right now. As I type. Its quite a difficult feat to accomplish, you should all be very impressed. I am so incredibly excited about today! I've been on a major snack kick lately. As we all know snacking can be very dangerous when trying to lose weight. One chip turns into three, which turns into thirty. Not good.


    So I've been on the hunt for some tasty zero points snack items that I can grab when I have the munchies but can't afford to eat a whole bag of chips. Green beans are something I never (ever) buy fresh. To me they taste like dirty, grimy earth. I grew up on canned green beans and I much prefer them over fresh. Blame my mama if you want to (but don't say anything bad about her, or I'll have to hurt you), but its just the way I feel! When I came across this method, I knew there would be no way canned green beans would work for this because of the moisture in them.


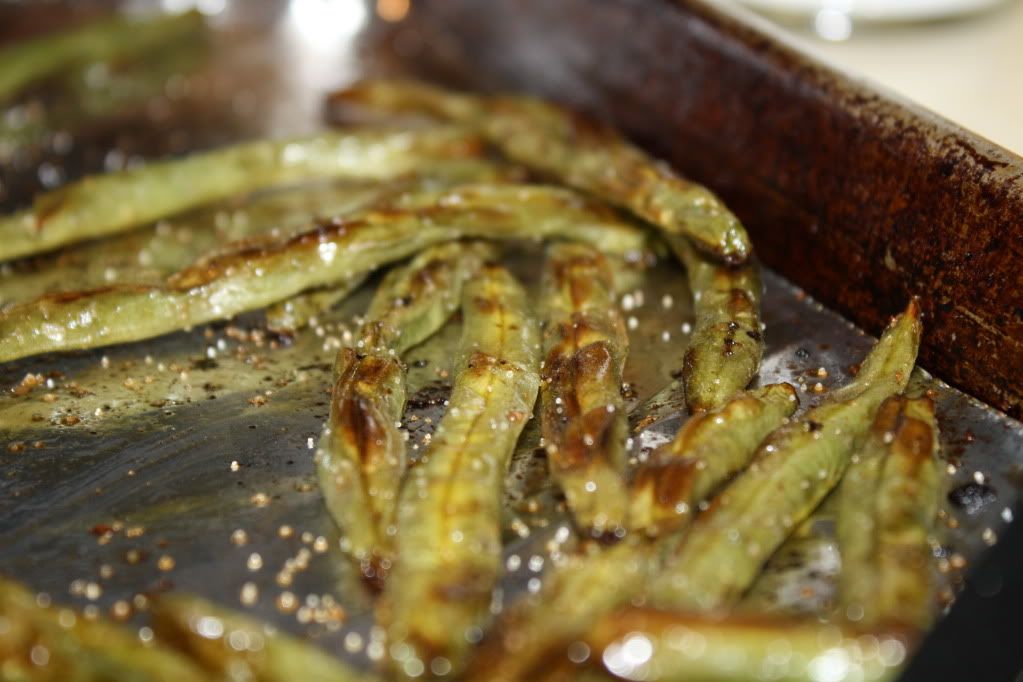
    It was going to have to be fresh, so I bit the bullet, marched into Fresh Market (if you've never been there, you need to go to their website ASAP and see if there's one near you!) and walked out with two pounds of fresh green beans. These "fries" were SO good! They don't really taste like green beans at all, granted they don't taste exactly like french fries either, but still they totally satisfied my munchies. I make these several times a week, and especially on the weekends when the urge to snack is especially high. They are an amazing zero point snack!

    Green Bean Fries
    • fresh green beans, with the ends snapped off
    • sea salt
    • cooking spray

    Directions:
    Preheat oven to 425.
    Spray a baking sheet with cooking spray and toss green beans around (you may have to give them a little spray too.)
    Sprinkle with sea salt.
    Bake for 20-30 minutes until browned, flipping halfway through.

    Tuesday, February 22, 2011

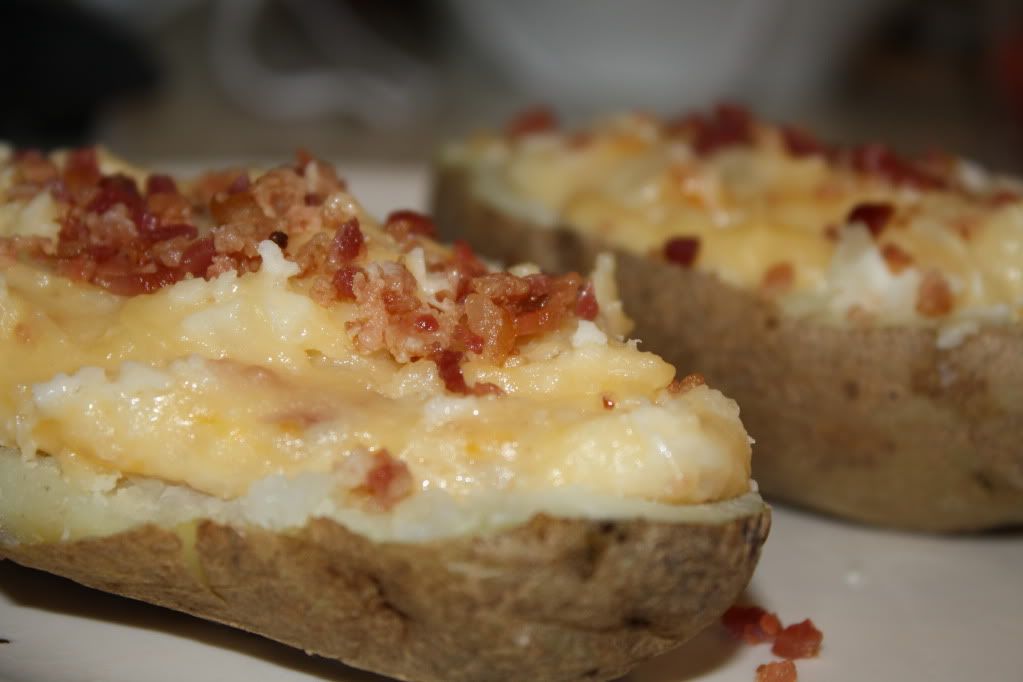
    Stuffed Potatoes

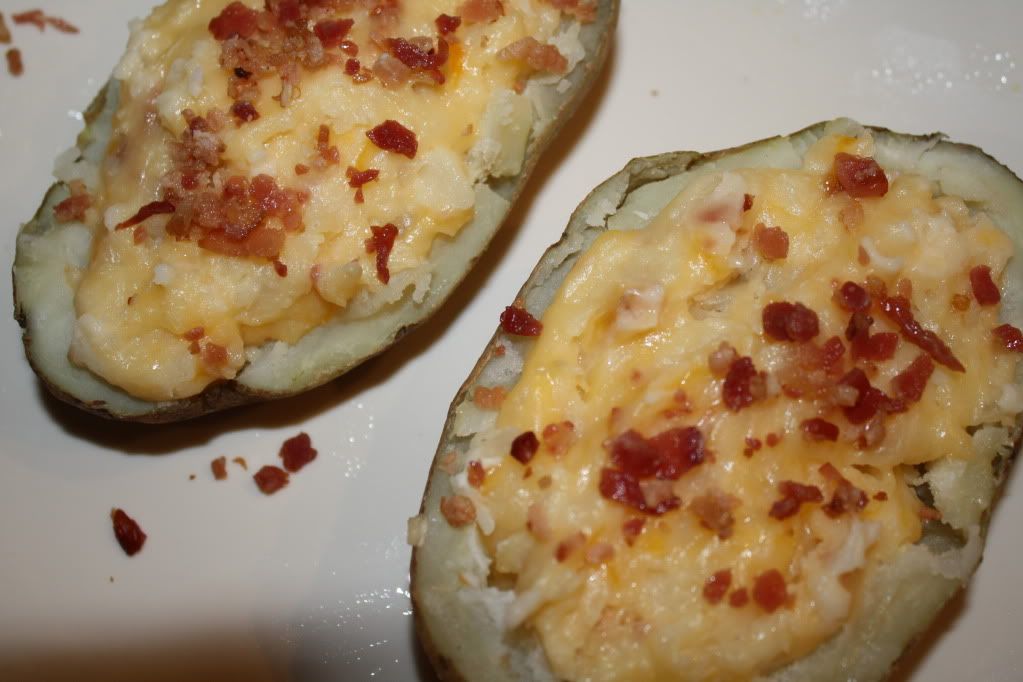
    Carbs are often thought to be an extreme no-no when you're trying to lose weight. I have found that by eliminating carbs from my diet that I do drop weight more rapidly, but that I'm also a cranky witch. In addition the minute I eat another carb, I gain back all the weight lost by skipping the carbs in the first place.


    The one thing I love the most about Weight Watchers is that nothing is off limits. Absolutely nothing. I ate a piece of 22 point cheesecake the other day and still lost weight for the week! It's all about planning, planning, planning. Since carbs happen to be one of my favorite food groups, I love that I can still lose weight and eat them to my heart's content!


    Stuffed Potatoes
    Points for this recipe will depend on the weight of your potatoes, weigh them after cooking for accurate ounces!
    • 2 potatoes (points for this recipe will depend on the weight of your potato!)
    • 2T fat free sour cream
    • 2T Brummel and Brown Butter Spread (Or you can use fat free spray butter)
    • 1/2 reduced fat shredded cheddar cheese
    • 2t bacon bits
    • salt and pepper to taste

    Directions:
    Cook the potatoes in the microwave until fork tender.
    Slice in half and scoop out the insides of the potato, leaving some around the edges.


    Mix together potato, sour cream, butter, cheese and salt/pepper using the back of a fork to smash everything together.
    Divide the mixture between the potato halves.
    Top with bacon bits.
    Bake at 400 degrees for 15-20 minutes, until cheese is melted.

    Wednesday, February 9, 2011

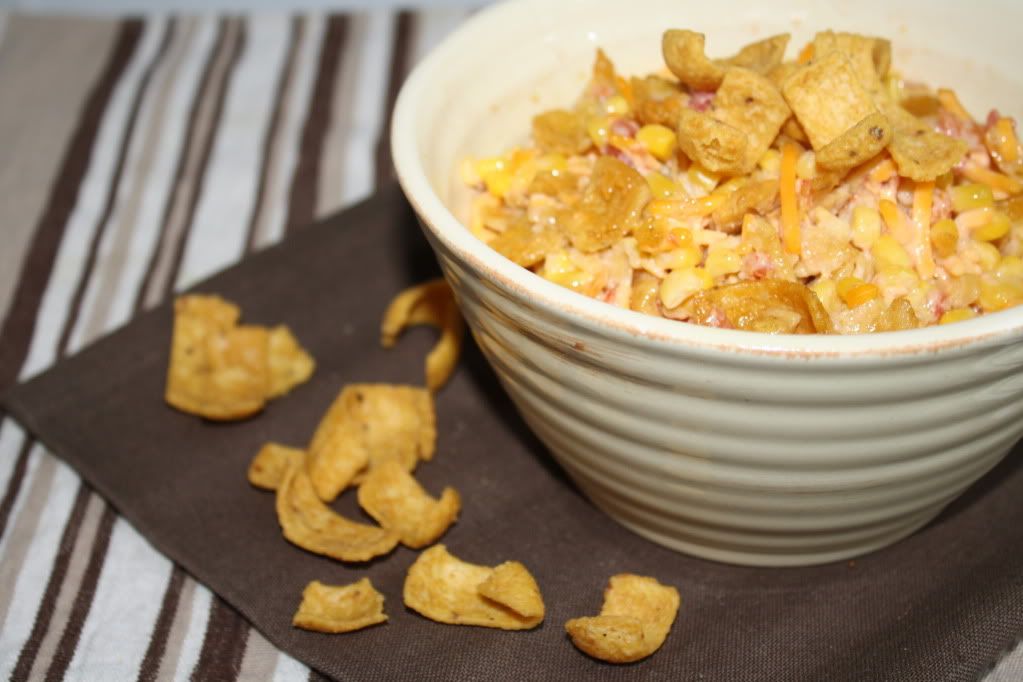
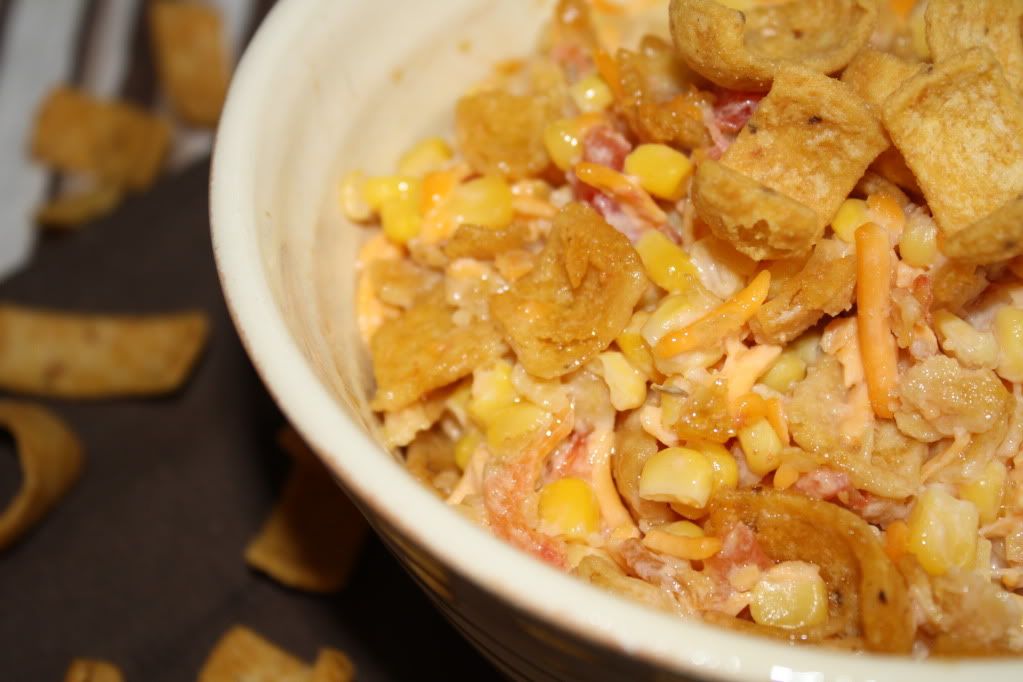
    Corn Salad

    As promised, here is your side dish to go with the enchiladas from yesterday! This really is the perfect side to almost any Mexican inspired meal, and it would be really great for summer cookouts as a cold side dish. Let's face it, any of Paula Deen's recipes are going to be good.


    I have a general rule that I'm allowed to drool over Paula's recipes, but under no circumstances am I allowed to try any of her recipes that contain butter. Luckily this one doesn't, but it does contain an obscene amount of mayonnaise. (I used light to help redeem myself.) Hey, its Paula Deen, what do you want? The only thing I tweaked with the recipe was leaving out the pepper and onion. I didn't have any on hand so I used a can of Rotel and it was fabulous. Next time I think I'll do the same thing, it really gave it more of a Mexican flare!


    Corn Salad
    • 2 cans whole kernel corn, drained 
    • 2 c. grated cheddar cheese
    • 1 c. mayonnaise
    • 1 c. green pepper chopped
    • 1/2 c. red onion, chopped (I substituted a can of Rotel in place of the onion/pepper)
    • 1 10 1/2 oz. bag coarsely crushed Chili Cheese Frito's (I just used regular)
    Directions:
    Combine first 5 ingredients and chill.
    Right before serving add the crushed Frito's.

    Thursday, January 27, 2011

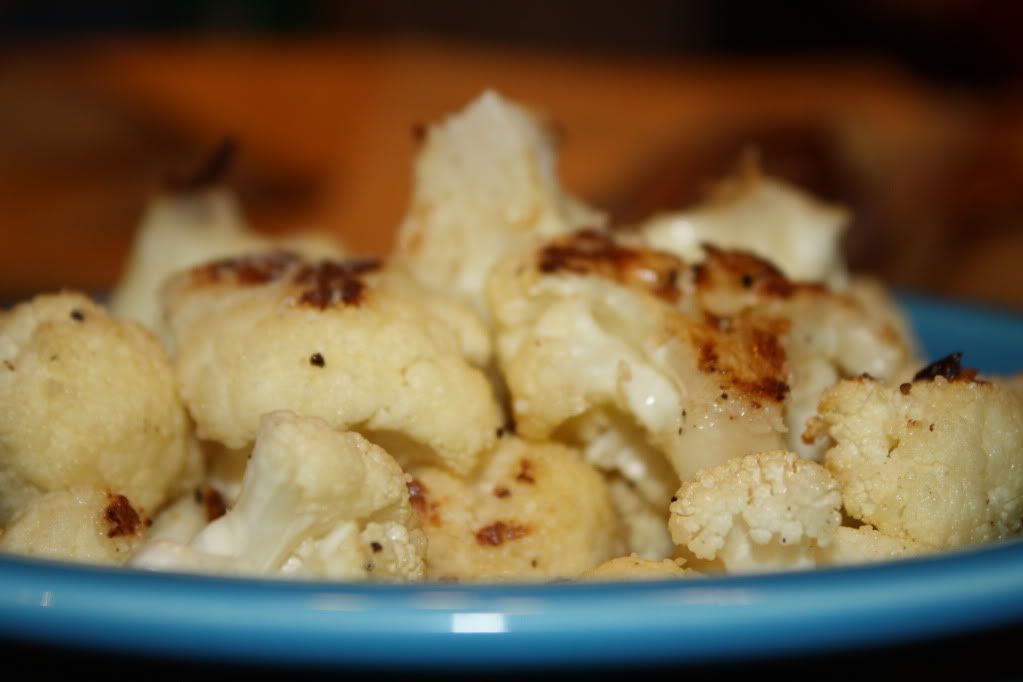
    Roasted Garlic Cauliflower

    No one in my house likes cauliflower, except me. I've tried and tried, all kinds of methods, no luck. I thought for sure this would be the recipe to make believers out of my family. Again, no such luck. But please don't let them deter you from trying this recipe, because in my opinion, its one of the best vegetable dishes I've ever made. And really, no one's opinion matters but mine anyway, right?


    My two older children actually did have a very small helping of this dish, and claimed it was good, but definitely didn't want seconds. I think maybe they've learned how to oblige me when it comes to taste testing! My husband ate one tiny piece because I forced him to, but he wasn't happy about it. He is a lifelong cauliflower hater though, so I wasn't expecting to convert him. The baby also took a tiny piece, but spit it out. I'm really not helping my case for this recipe am I?


    Since no one else wanted it, I ate it. All. The entire head of cauliflower. There are worse things I could eat in entirety, don't look at me like that. It was that delicious! Something magical happens when you roast vegetables, they just get such great flavor. Along with the garlic and parmesan cheese, pure heaven. I hope you'll try it out!

    Roasted Garlic Cauliflower
    • 1 head cauliflower
    • 3-4 cloves garlic, chopped
    • cooking spray or olive oil
    • parmesan cheese for sprinkling

    Directions:
    Preheat oven to 425.
    Cut cauliflower into florets and toss with garlic and oil or cooking spray.
    Spread evenly on a baking sheet.
    Roast for 20-30 minutes until cauliflower is tender.
    Remove and sprinkle a healthy helping of parmesan cheese before serving.

    Monday, January 3, 2011

    Butternut Squash Fries

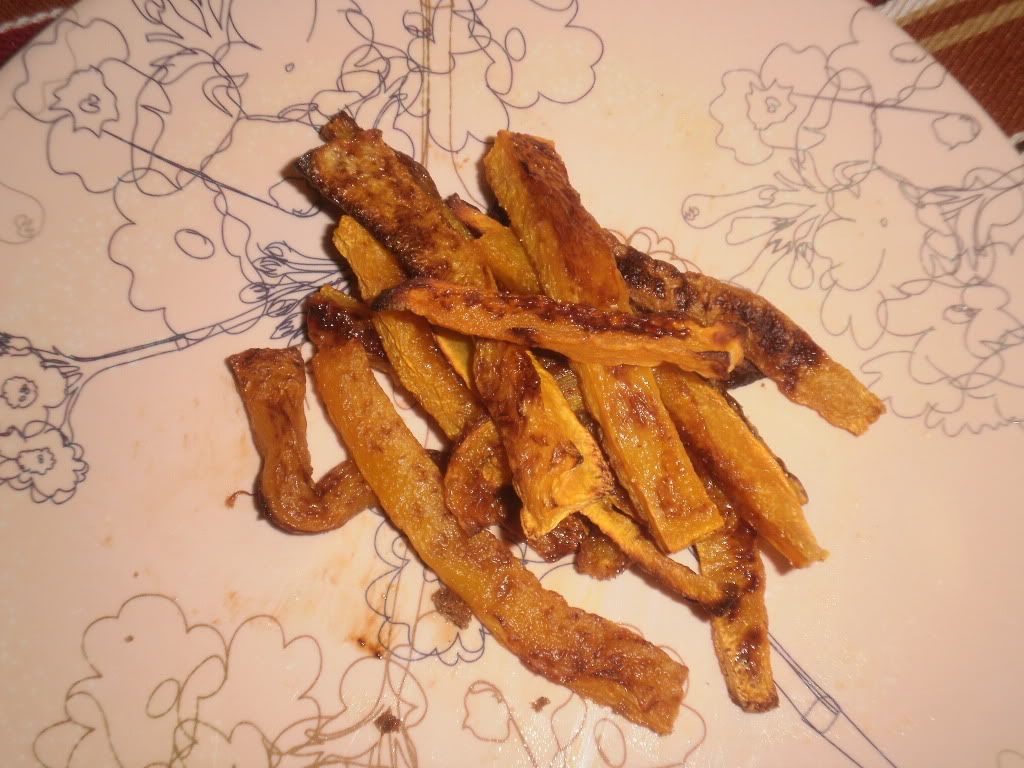
    Along with the rest of you, I managed to gain the obligatory five pounds that just naturally comes along with Christmas vacation. So, if you're like me you are in desperate need of healthy foods! In the spirit of the new year, I have a confession to make. I'm having an extremely inappropriate affair with butternut squash. I have eaten it nearly every day for the past month. What can I say, we're in love! You may recall my post for Spiced Butternut Squash, which you should really try if you haven't. This roasted squash is my new favorite way to eat butternut squash. Roasting it brings out a totally different flavor than sauteing. It's hard to describe, but its almost a deep, nutty quality. A more sophisticated squash, shaped like a french fry.


    Now, these will not necessarily get as "crisp" as regular potato fries would if you were to bake them. If you've ever made sweet potato fries, they'll be close to that same consistency. They just don't get completely firm, as a typical french fry does. Regardless, I promise you won't even miss that crunch. I only tell you about this so that you won't think something is wrong after you bake them. These are the perfect combination of salty and sweet and a great side dish for any meal!

    Butternut Squash Fries
    • 1 butternut squash
    • 2T brown sugar
    • salt
     Directions:
    Preheat oven to 425.
    Peel and cut squash into fry sized pieces.
    Toss with 2T brown sugar.
    Lay flat on a baking sheet sprayed with cooking spray.
    Sprinkle with salt.
    Bake for 40 minutes, flipping halfway through. You'll know they're done when they start to brown.

    Monday, December 13, 2010

    Garlic-Butter Asparagus

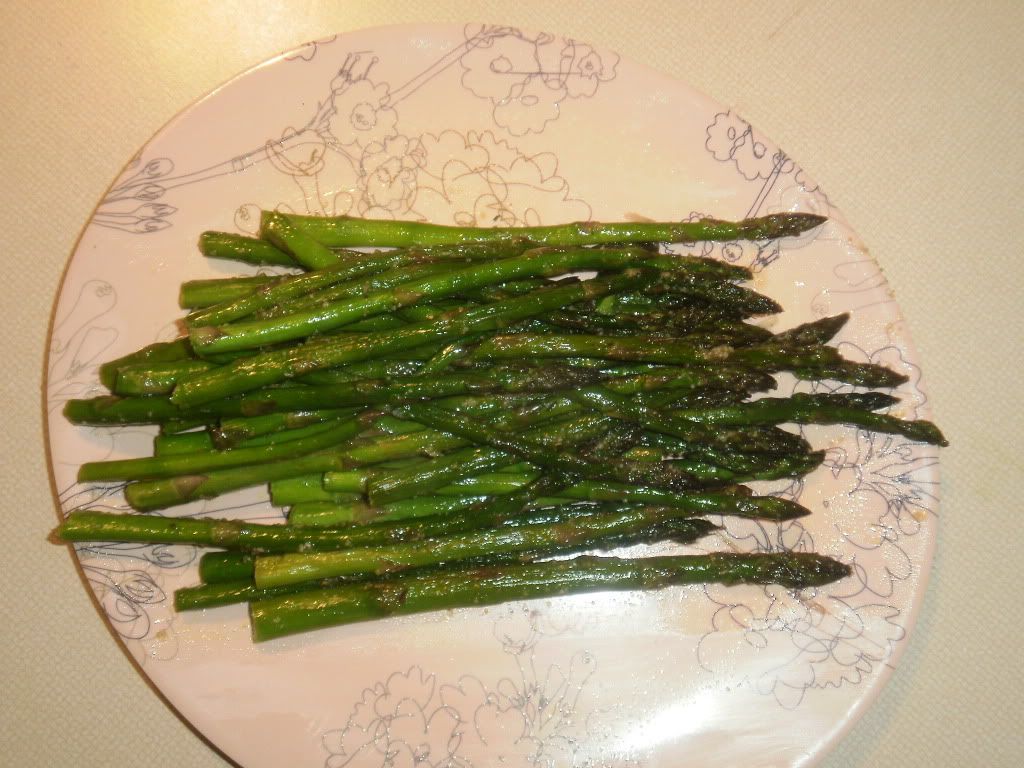
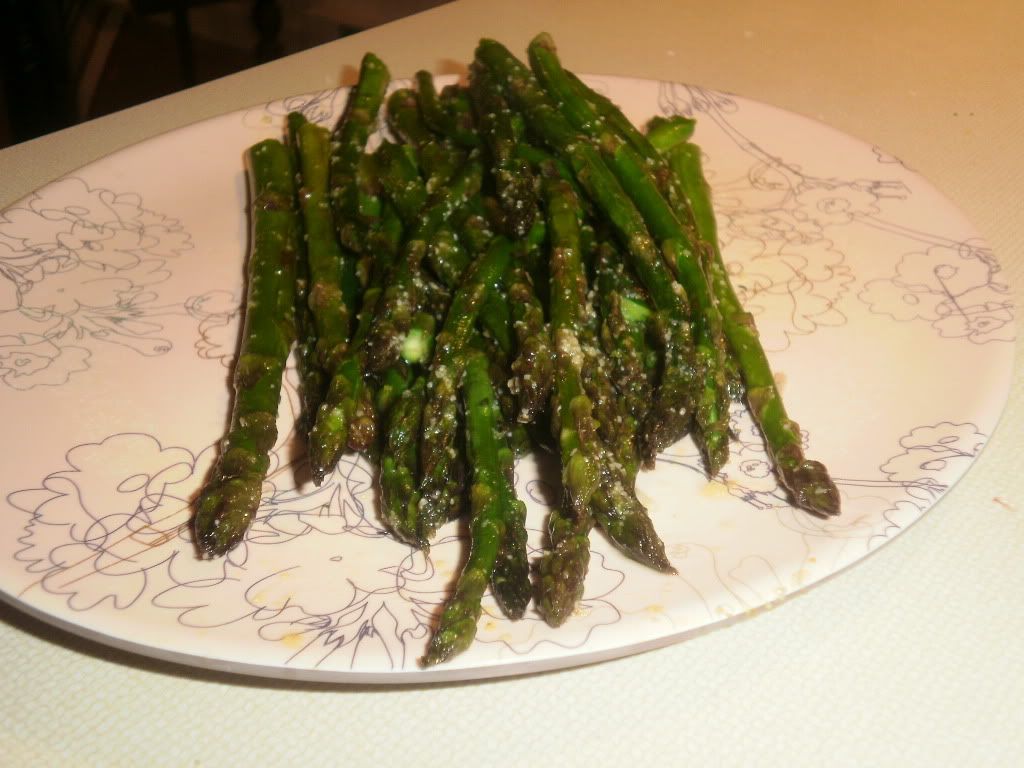
    Asparagus have become the new broccoli at my house. I personally love most vegetables, even the ones many people don't like...spinach, brussel sprouts, etc. However, the family is pretty picky about their veggies which basically limits me to serving broccoli with dinner every night because its the one thing we all like. Well, move over broccoli, there's a new veggie in town!


    I'm thrilled to report that all three of my children love these garlic-butter asparagus. They are easy enough to be a perfect everyday side dish, yet classy enough to grace your Christmas table. I'm so happy to have another green vegetable to serve my family that won't end up in the trash!


    Garlic-Butter Asparagus
    • 1 bunch asparagus (try to avoid the thick ones, they are tough - the skinny ones are more tender)
    • 1t garlic salt
    • butter flavored cooking spray
    • 1/4C water
    Directions:
    Trim asparagus. You can take one and bend it until it snaps, and use that as a guide to cut all the others at the same length.
    Heat a large non-stick skillet on medium high and spray with butter spray.
    Place asparagus in skillet in a single layer.
    Spray top again with butter spray.
    Saute asparagus for 5 minutes and add garlic salt.
    Add 1/4C water and cover asparagus, allowing them to steam for 5-10 minutes.
    Asparagus will turn bright green when finished. Don't overcook or they'll be mushy!

    Thursday, October 28, 2010

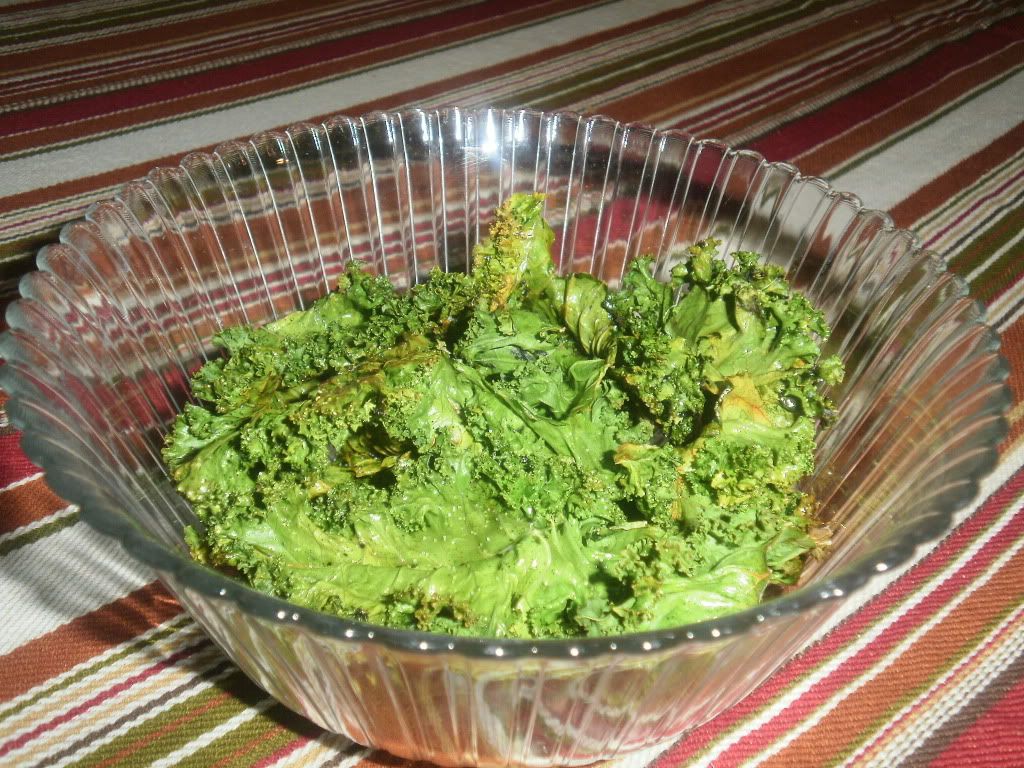
    Kale Chips

    Get back here! Don't even think about skipping this recipe just because I said the word "kale."

    I know what you're thinking. And I know that's something people always say, but really, I know what you're thinking. You could call me somewhat of a picky eater. If you asked my mom she'd probably tell you I'm a very picky eater. Which means that I'd never touched a piece of kale before trying this recipe, and never even considered it because "I know I won't like that." I have seen kale chips on food blogs and sites that I follow for years now. Literally, years. And every time I say, "nope, not for me" and move on, without a second thought.


    Then I came across it once again earlier this year and I thought, all these people raving about kale chips can't be collectively off their rocker. So I ran out to the store and spent $1.50 on kale and figured if when they were gross, I hadn't wasted much money and then I'd be able to move on and say "liars!" every time I came across kale chips again.


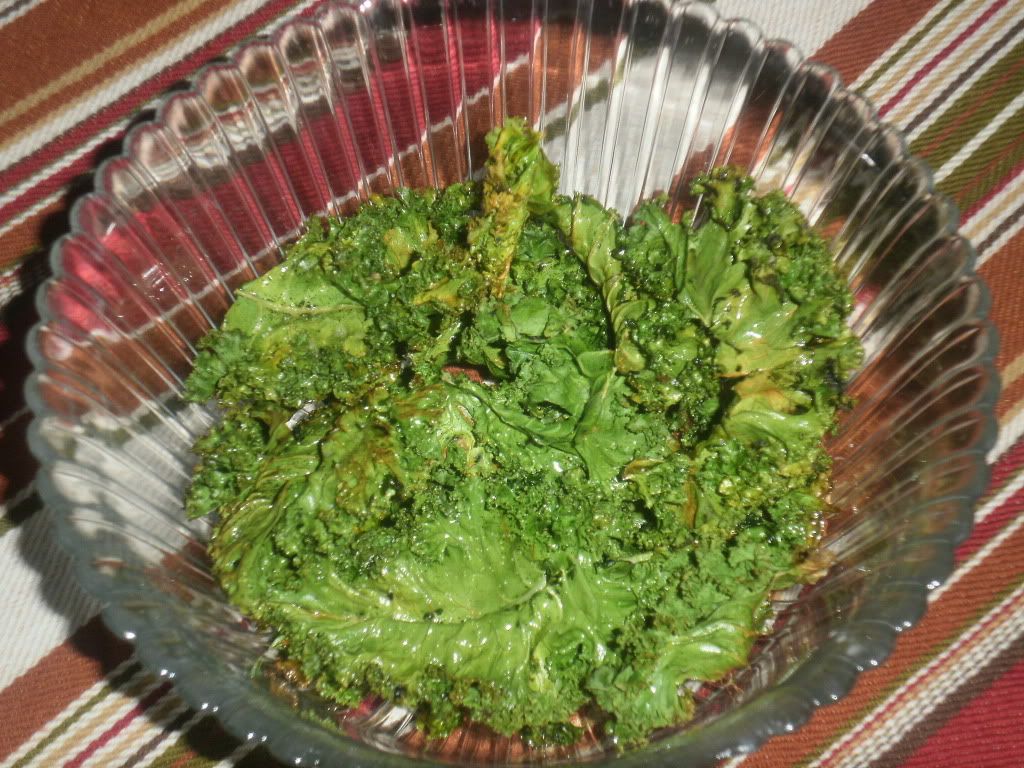
    Well, the only liar would be me if I told you these were gross. They are A-M-A-Z-I-N-G. Now, stop looking at me like that, I'm not crazy. My children, all three of them, beg me to make these. (Okay, so the baby doesn't actually beg, but she eats a ton of them!) When I asked my 9-year old daughter what she wanted to do for her birthday this year, she told me she wanted to have kale chips at her party. If that's not a convincing endorsement, then I've miserable failed here.You don't have anything to lose but a couple bucks and some cooking spray, so get off your rear and make these! If they totally suck I give you full permission to come back and publicly blast me. Now, go!

    Kale Chips
    • 1 bunch of kale
    • cooking spray or olive oil
    Directions:
    Preheat oven to 375.
    Rinse kale and pat dry.
    Tear the leafy part off the thick middle stem into large pieces. Anywhere between 1-4 inches will work. I've seen people just throw the whole stalk in there before too! However, the thick middle stalk is very bitter so you want to avoid eating that part.
    Spray a baking sheet with non-stick spray (or toss the leaves with olive oil), lay out the kale in a single layer, and spray again on top.
    Bake - This is the tricky part. Until you know how long these will take in your oven, you really have to watch them very closely. The directions I saw when I first made these said 18-20 minutes and I've found that anywhere between 7-10 is perfect for my oven. So there's a big variable there. You want to watch for the curly ends of the leaves to get crispy, they should feel slightly crisp to the touch, not wilty. Also, if they start to turn brown take them out immediately! If they taste bitter, you've cooked them too long.
    Sprinkle with salt when they come out of the oven and serve! You can also play around with other seasonings, we really like them with Old Bay as well.

    Monday, October 18, 2010

    Spiced Butternut Squash

    I took a cue from the name of this squash when I was thinking of ways to prepare it.
    Butter. Nuts.
    Sounds good to me! And holy butternuts, was it good. I've really been excited lately by all the ways vegetables can be so delicious. I've been trying to include more fresh veggies in my diet and between this dish and Zucchini Chips a couple weeks ago (and kale chips coming up!), I'm feeling very inspired by the potential veggies have!


    I'm not going to lie to you though, peeling and cutting butternut squash is a real pain in the ass. I am actually one of those weirdos who enjoys chopping things up in the kitchen, but the skin of this particular squash is really tough and difficult to peel and cut into. I've seen them sell precut cubes of butternut squash in the store and if you aren't as cheap as me, you might want to just take advantage of that convenience. Actually, I think my fiance might cough up the cash next time, seeing as how he had to spend an hour fixing the disposal that I broke by shoving squash peels down there. So, make sure you don't do that.

    In the end it really was worth it though, this squash is so sweet and delicious. I almost felt like I was serving candy with dinner. think pecan pie meets pumpkin pie. Its like a side dish of dessert!

    Spiced Butternut Squash
    •  4C chopped butternut squash
    • 1/4C chopped pecans
    • 3T brown sugar
    • 1/2t pumpkin pie spice
    • butter flavored cooking spray (or regular butter if you aren't concerned with calories!)
    Directions:
    Place squash in a microwave safe container and cover with plastic wrap, leaving a small opening to vent.
    Microwave for about 5 minutes until squash is tender.
    Spray a skillet with butter spray and turn heat to medium.
    Add squash, brown sugar, pecans and pumpkin pie spice.
    Saute squash for 10-15 minutes.


    Monday, October 11, 2010

    Cheesy Ranch Potatoes

    Do I really have to sell you on this one? Cheese. Ranch. Potatoes. Oh, and did I mention BACON!? Hey wait, get back here! You can't go to the grocery store yet, I'm not finished! You have to sit through the rest of my witty banter and then you may be excused.

    I think I may have created the perfect side dish here. I can't think of anything that wouldn't be complimented by these potatoes. Make them for a crowd though, or you'll eat entirely too many! Like I did while I was cleaning up from dinner and my fork kept making its way back into the dish of potatoes. These were a big hit with the whole family. Even the baby (who isn't really a baby anymore, but I refuse to stop calling her that) had three helpings!

    Feel free to change up the cheese if you'd like, cheddar would be great or even a mexican blend. I am a huge fan of monterey jack though and I think its perfect in this dish. If you're wondering what to do with the leftover dry ranch dressing mix after you make these potatoes, save it! You'll be able to use the rest for Crispy Ranch Chicken, which will be posted tomorrow!


    Cheesy Ranch Potatoes
    21bs potatoes (about 5-6 medium/small potatoes)
    1T dry ranch dressing mix
    1T olive oil
    2C monterey jack cheese
    6 slices turkey bacon, cooked and chopped (or pork if you prefer)
    sour cream for serving

    Directions:
    Preheat oven to 450.


    Wash potatoes and cut into small pieces. Try to keep them all relatively close to the same size.
    Place potatoes in a large bowl and add olive oil and ranch mix. Toss to coat.
    Transfer to a 9x13 baking dish (make sure you either oil or spray the dish!)
    Sprinkle cheese and bacon on top of the potatoes.
    Bake at 450 for 30-40 minutes until potatoes are tender.

    Friday, October 8, 2010

    Zucchini Chips

    I love chips. All kinds. In fact, I don't know if I've ever met a chip I didn't like. Unfortunately, they don't like me back...just ask my thighs their opinion on the matter. In an effort to get more veggies into my diet (and less chips), I pulled out this recipe I made a while ago and revamped it a bit. Holy cow are these things good!


    Now, you know I'm the queen of all recipes "easy," and this recipe only has a few ingredients, but you might be thinking "hey, that recipe looks like it takes some work!" It does, but just a little, and the end result is so worth the effort. You have to believe that if I say its worth the effort...its worth. the. effort. These things are so addictive, just like potato chips! Even kids will be begging for them, just ask my son who said, and I quote, "Mom! These are SO GOOD! Can I have some more?" What 8 year old boy says that about zucchini??

    You can make these ahead of time and flash freeze them for a few minutes, then store them in a ziploc bag in the freezer until you're ready to cook them. However you decide to make them, make two batches, or you'll wish you had!


    Zucchini Chips

    2 medium zucchini, sliced into 1/8-1/4 inch slices
    1/2C plain bread crumbs
    1/2C panko bread crumbs
    1/4C grated parmesan cheese
    2 eggs (or 3 egg whites)
    1/4-1/2C flour
    1/2t garlic powder
    1/2t salt
    1/2C marinara sauce
    cooking spray

    Directions
    Preheat oven to 450
    1. In three separate shallow bowls (I find pie plates work well) put flour in one, eggs (slightly beaten) in another, and the panko, bread crumbs and cheese in the other.

    2. Cover a large sheet pan with foil and place a baking rack on top.

    3. Start a little assembly line for your zucchini and dip them in the flour, egg, and then panko mixture.

    4. Place chips on baking rack, not touching each other.

    5. Bake at 450 for 25-30 mins or until golden brown and crispy.