Showing posts with label Desserts. Show all posts

Thursday, March 31, 2011

Creamy Cheesecake

Alright, if you're a dieter look away. Look far, far away. One slice of this cheesecake is over 20 WW points. I told you to look away. This is your last chance!


However, if wish to gorge yourself on the best cheesecake EVER, weclome and continue reading! I was hesistant to try cheesecake again after my flop last year on Valentine's Day when I left out the sugar. Yes, that really happened. No, I don't want to talk about it. I didn't get it completely right again this go around, but I figure that's just incentive to try once more. Third time being the charm and all, and hey, it gives me an excuse to make another cheesecake!
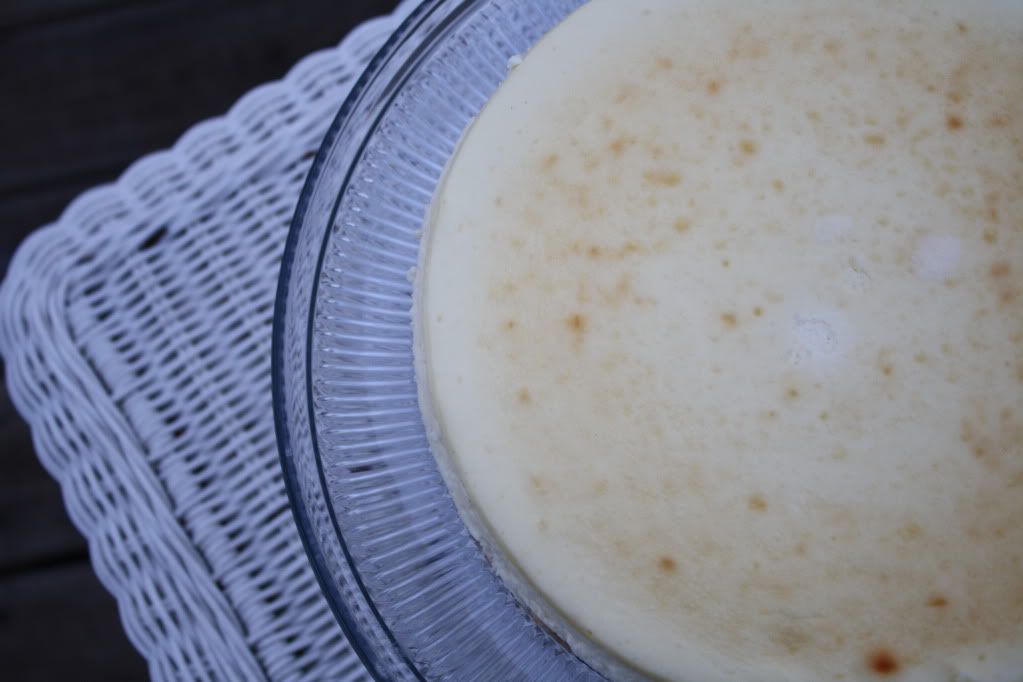

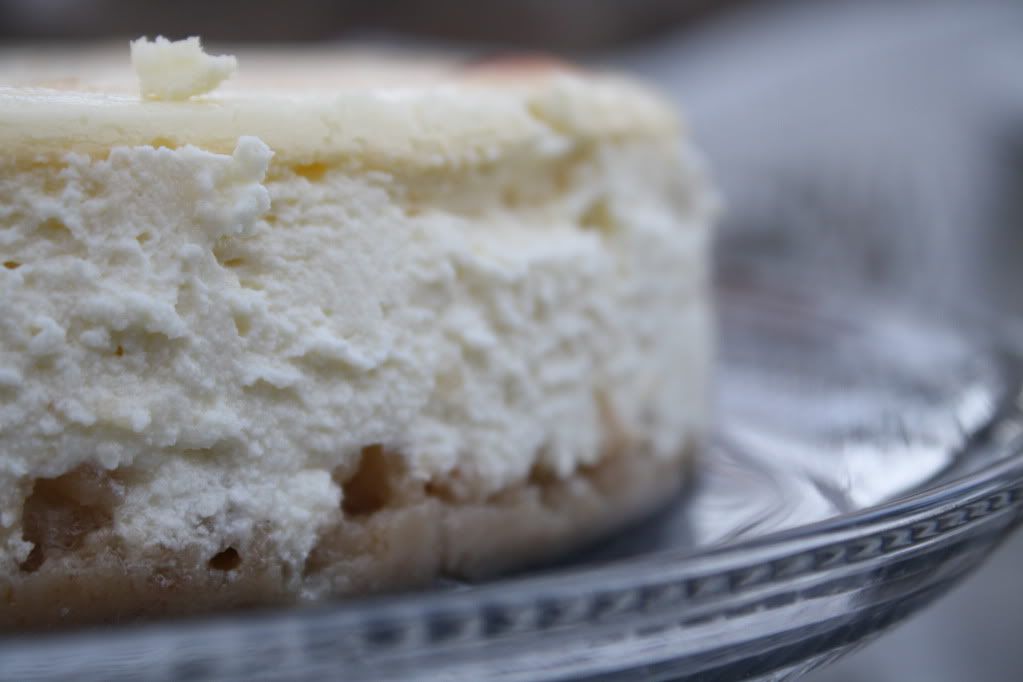
The cheesecake part was divine, heavenly...perfect. The crust was a little soggy because I didn't wrap the springform pan as well as I should have when I put it in the water bath. My springform pans are practically brand new so I didn't think leaking would be an issue. Wrong. It was still very, very edible though! Not to mention gorgeous.
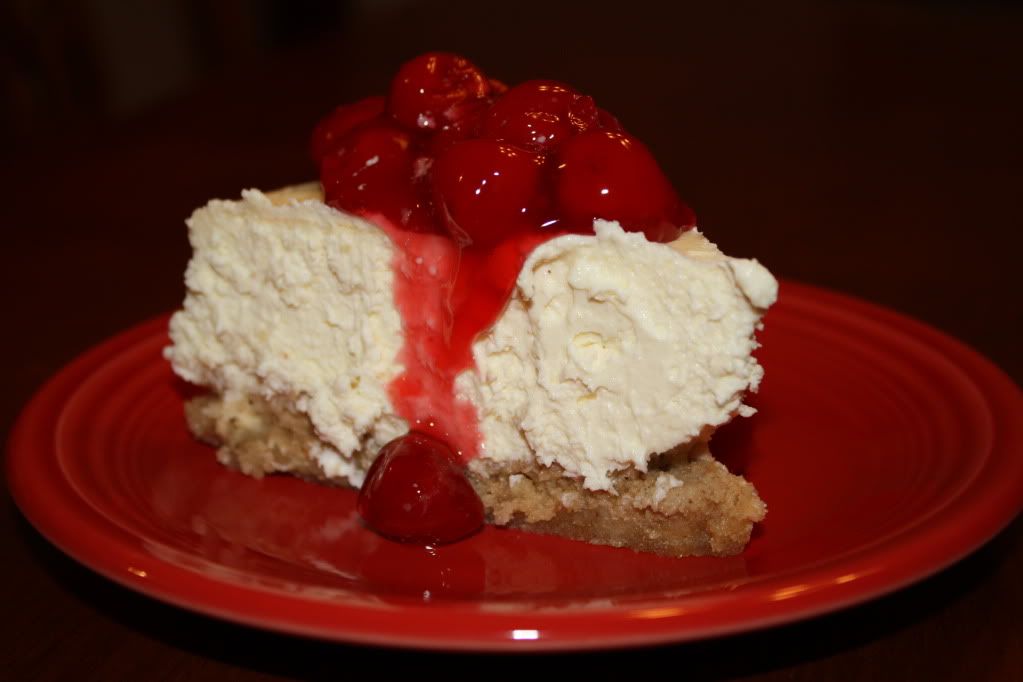

I'm accepting volunteers who would like to come over and finish this off for me so it will quit staring at me. Anyone?


Creamy Cheesecake
 
 2 8-oz. packages cream cheese (NOT low-fat or fat-free), softened
3 eggs
1 c. sugar
1/4 tsp. salt
2 tsp. vanilla
1/2 tsp. almond extract
3 c. sour cream (NOT low-fat or fat free)
CRUST:
1 1/2 c. graham cracker crumbs
1/3 c. white sugar
6 Tbsp. butter, melted
1/2 tsp. cinnamon

Directions:
Preheat oven to 375. Combine crust ingredients and very gently pat into the bottom of a 9″ springform pan. Set aside.
Beat the softened cream cheese until smooth then add the eggs, one at a time, until smooth. Add in the sugar, salt, vanilla, and almond extract and beat on high for 3 minutes, scraping the bottom and sides and making sure the mixture is completely smooth. Add the sour cream and mix well. Pour batter into pan and wrap the pan with aluminum foil or a turkey roasting bag. Place the wrapped pan into a larger baking or roasting pan and fill the larger pan with water so it comes up about 3/4 of the side of the springform pan.
Bake for 35 minutes or until filling is custard-like. The center shouldn’t be completely set–it should kind of jiggle like firm Jello, but it shouldn’t be liquidy, either. Just don’t overbake. Turn off the heat and crack the oven and allow to stand for another 20 minutes or so. Remove from oven and allow to cool completely. Cover with plastic wrap and chill for at least 8 hours. DON’T remove springform sides until cake has set for 8 hours. Makes 10-12 (or more!) servings.

Monday, March 14, 2011

Nutella Fudge Brownies

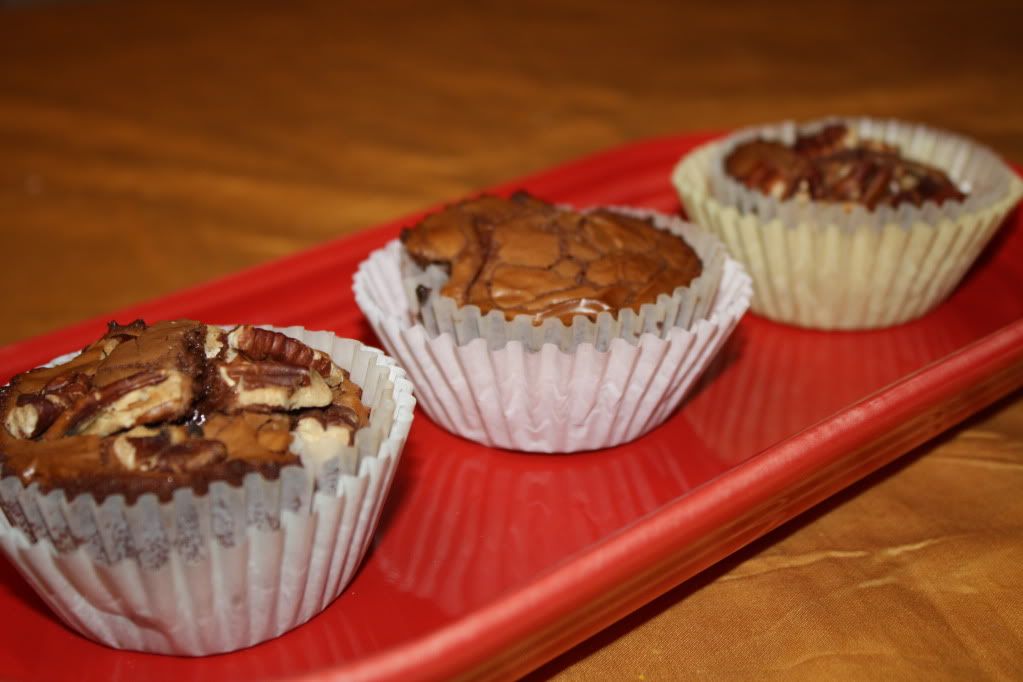
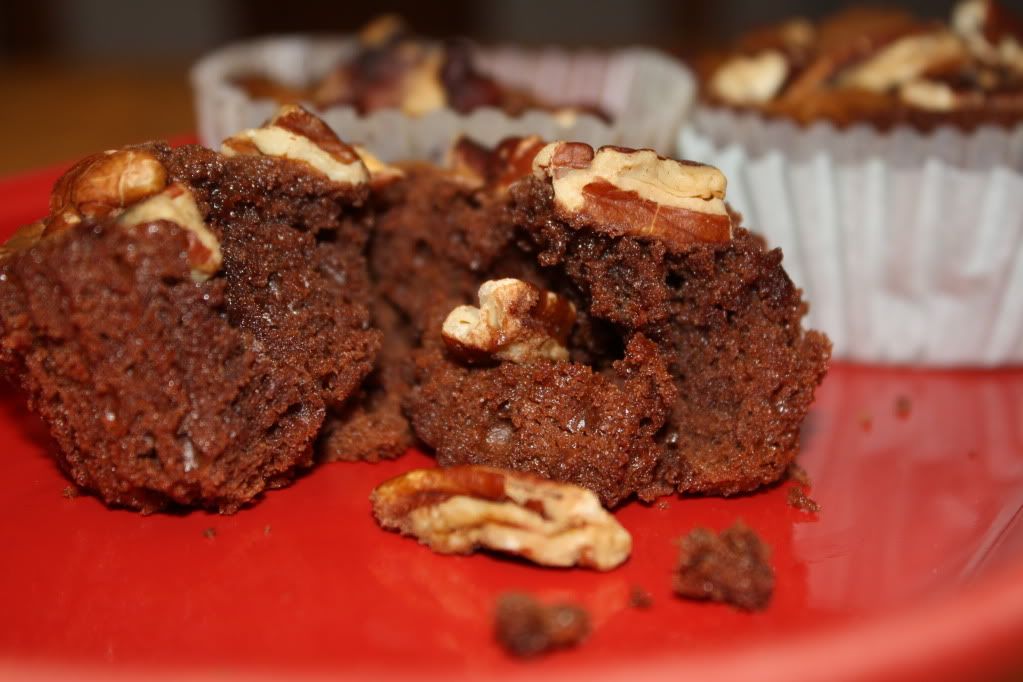
Alright, alright, this recipe isn't exactly going to get you the most for your points, BUT there is good news. First of all, these are the chewiest, fudgiest, chocolatiest, most decadent brownies I've ever tasted. Please look past all the words I just made up in that sentence. Second, the recipes only makes six brownies (or 12 mini muffins sized brownies) so surely your family will devour most of them leaving you with no choice but to only eat one. I love portion control!

Besides, what kind of life would it be if we couldn't indulge once in a while? That's one of the reasons I absolutely love Weight Watchers, because nothing is off limits. You can basically eat anything you want in moderation, if you plan for it. So, plan to work these brownies into your week!


Nutella Fudge Brownies
6 servings @ 5p's
  • 1/2 cup Nutella
  • 1 large egg
  • 5 tablespoons all-purpose flour
  • 1/4 cup chopped hazelnuts (I didn't have hazelnuts, so I used pecans for some and left some plain. We actually decided at my house that we liked them better nut free!)
Heat the oven to 350 degrees. Line a 12-cup mini muffin pan with paper or foil liners.
Put the Nutella and egg in a medium bowl and whisk until smooth and well blended. Add the flour and whisk until blended.
Spoon the batter into the prepared muffin tins (about 3/4 full) and sprinkle with the chopped hazelnuts.
Bake until a pick comes out with wet, gooey crumbs, 11-12 minutes. Set on a rack to cool completely. Serve immediately or cover and store at room temperature for up to 3 days.
 

Monday, February 14, 2011

White Chocolate Cheesecake (And an annoucement! And...)

Happy Valentine's Day! I just couldn't fit all that in the post title. Whew.

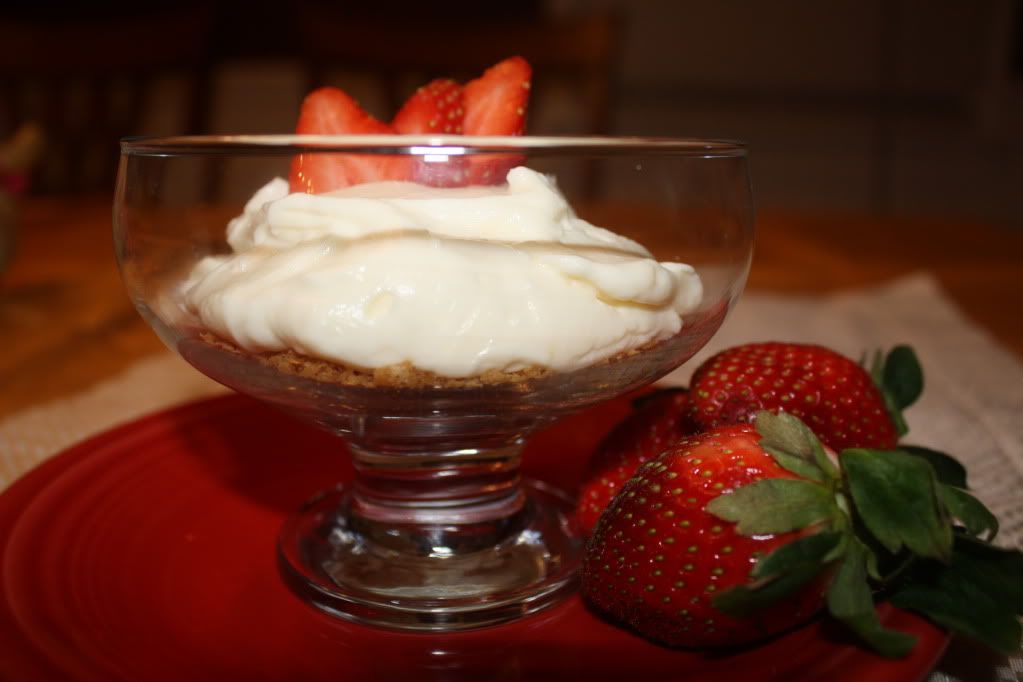
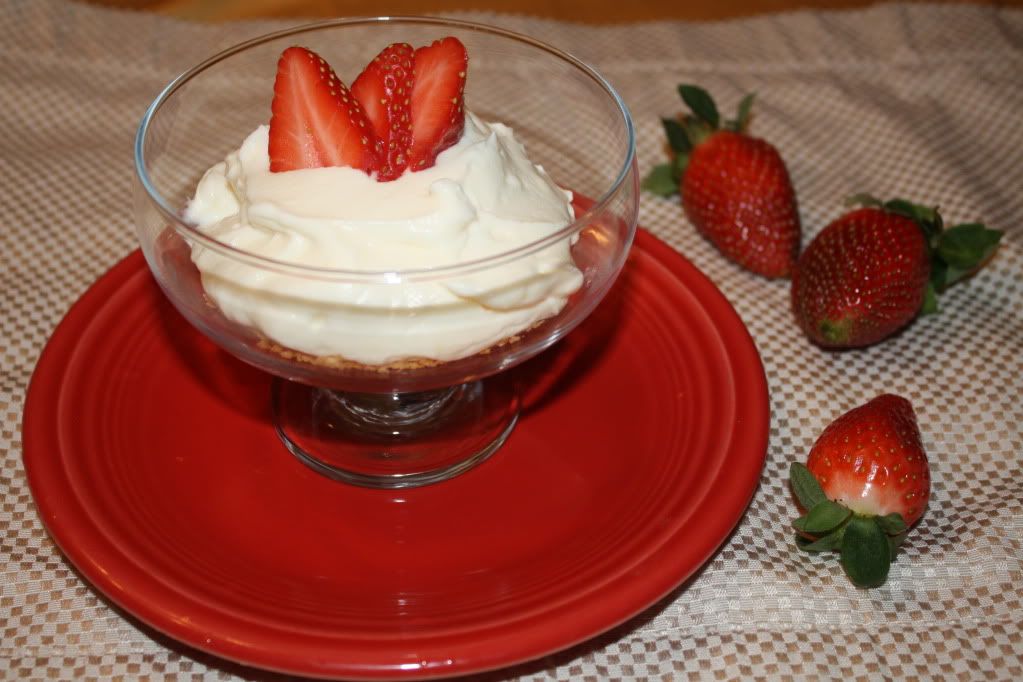
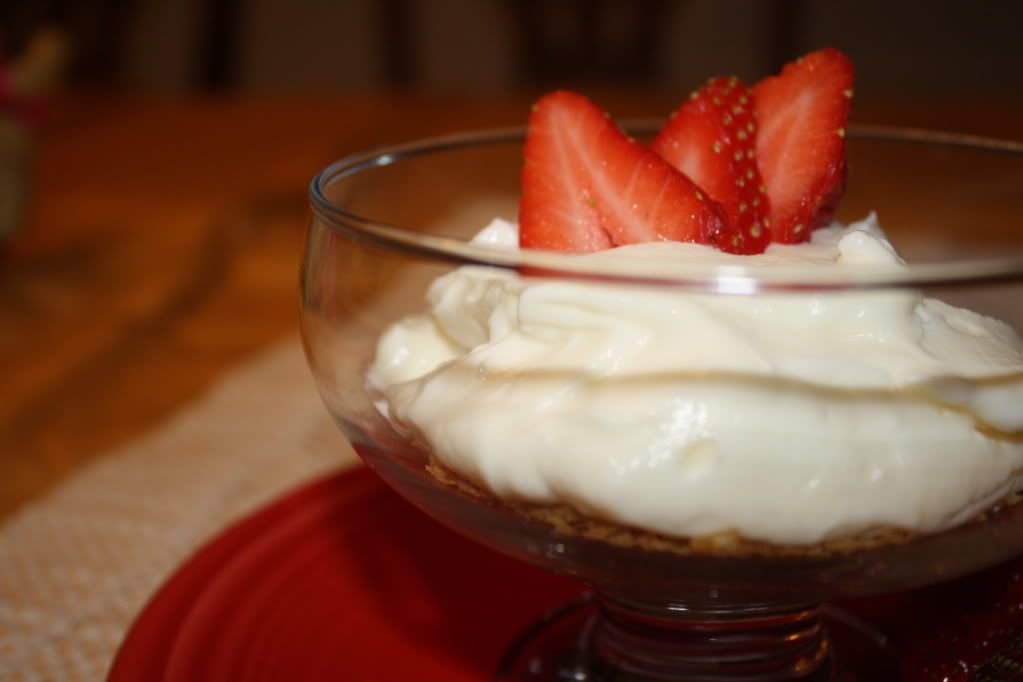
Okay, announcement first. The Pie Hole is going on a little diet in hopes to drop some of that honeymoon weight, plus a few extra pounds. We have a family beach trip planned in July and by then I hope to lose at least 20 pounds, who's with me? Don't all raise your hands at once. What if I promise you can still eat stuff like this:


Does that convince you to stick around?
All this really means is that there will be more figure friendly recipes posted around here in the coming months, but not to worry, I'll still indulge you too, especially since I have many, many recipes waiting in the queue that were there long before this whole diet (blah) thing took effect. Most of these recipes will be centered around the Weight Watchers program, my go-to plan when I am serious about dropping some pounds. But, even if you aren't following the plan (or looking to lose weight) I can promise that these meals will still be delicious!


Getting on with your regularly scheduled program. You're probably asking yourself, "Self, did she just say she's going to post healthy recipes and the post of the day is White Chocolate Cheesecake???" You are correct! This recipe makes two servings, perfect for you and your Valentine this evening. The other exciting thing about this recipe is that its really more of a method. I recently learned of mixing yogurt and sugar free, fat free pudding mix together to make a delicious breakfast, snack or dessert. Its divine! I don't really even like yogurt, but I'm addicted to this. The flavor combinations are endless and it tastes more like a mousse than a yogurt. I made this one out of pistachio pudding!


I chose to mix part cheesecake pudding and part white chocolate pudding into my yogurt for my "cheesecake" to make it White Chocolate Cheesecake. But you could do chocolate + cheesecake, strawberry + cheesecake, banana + cheesecake. Go crazy!

White Chocolate Cheesecake
  • 2T graham cracker crumbs
  • 1tsp I Can't Believe It's Not Butter Light
  • 1tsp splenda
  • 1.5C non-fat plain yogurt
  • 1tsp (heaping) sf/ff cheesecake flavored pudding mix, dry
  • 1tsp (heaping) sf/ff white chocolate flavored pudding mix, dry
  • 2 muffin cup liners 
Directions:
Crust
Preheat oven to 350.
Melt butter in a small bowl.
Mix in splenda and graham cracker crumbs. (If you find that you need more butter, spray a couple squirts of fat free butter spray in there!)
Divide graham cracker crumbs between the two muffin cup liners and gently press.
Bake for 8-10 minutes.

Cheesecake
Whisk together yogurt and pudding mixes and chill in the refrigerator for at least 30 minute to an hour.
Once crusts are cooled, divide the cheesecake mixture into each cup. (This crust is not a dense crust, so it will likely be easier to just eat it right out of the cup with a spoon instead of trying to take it out of the paper, but see what works for you!)
Top with cool whip or a strawberry!


Note: If you use Fiber One yogurt, it might be possible to take this down one more point, but I'm not sure. Let me know if anyone tries it!

Nutrition Info: Fat 1.3, Carb 8.0, Fiber 0, Protein 5.6

Thursday, February 10, 2011

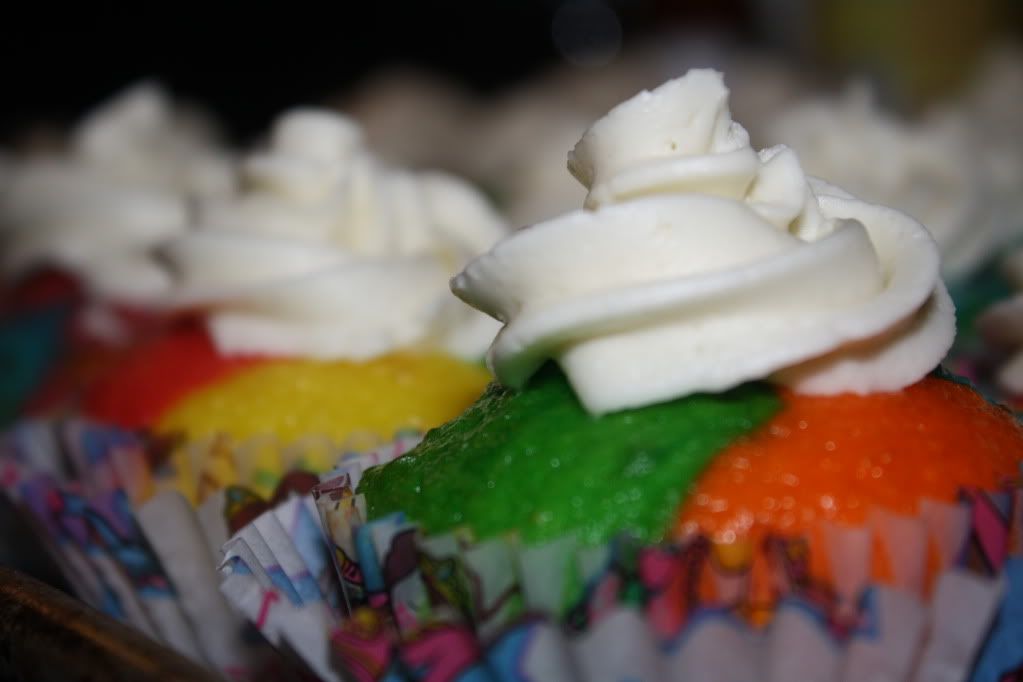
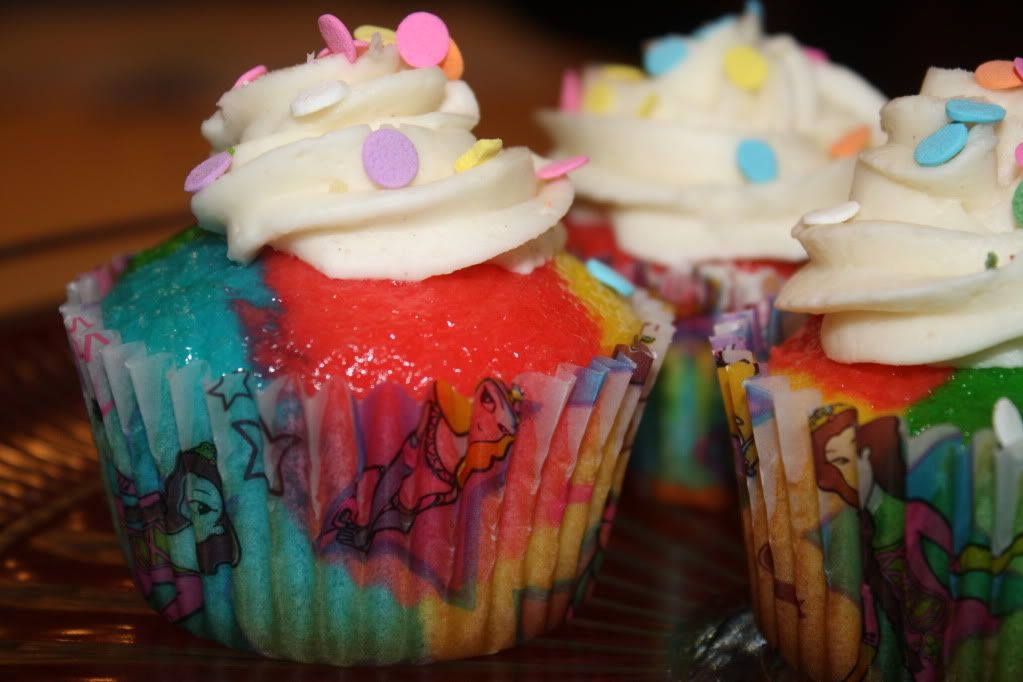
Colorburst Birthday Cupcakes!

Happy Birthday to my baby girl who is two today! It's so hard to believe how fast the time flies for us mommies, but it sure does go quickly. Sniff.


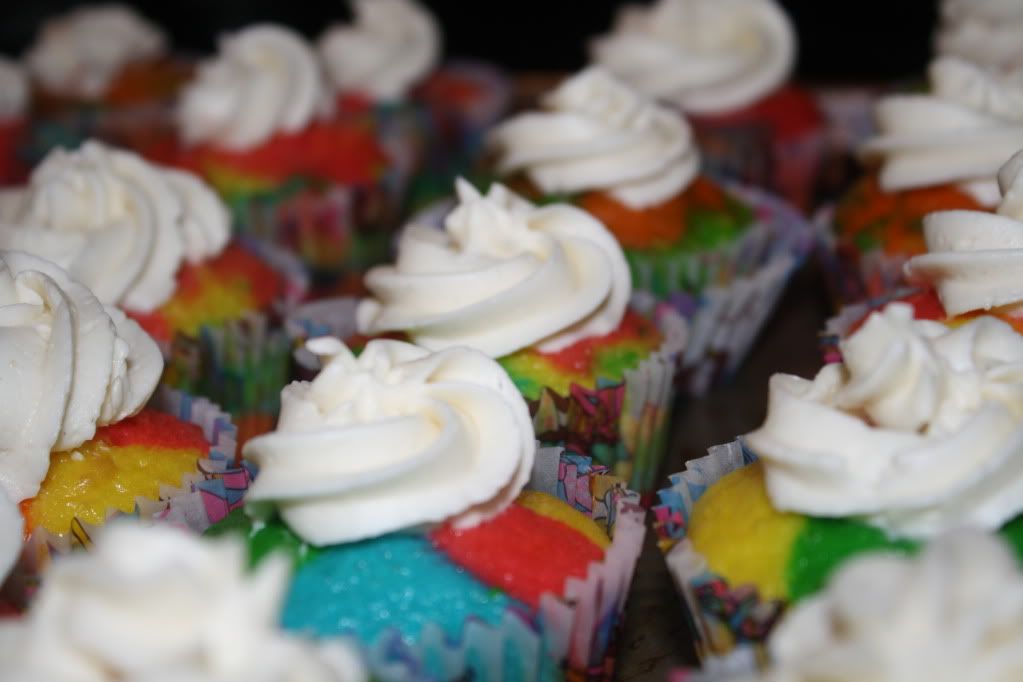
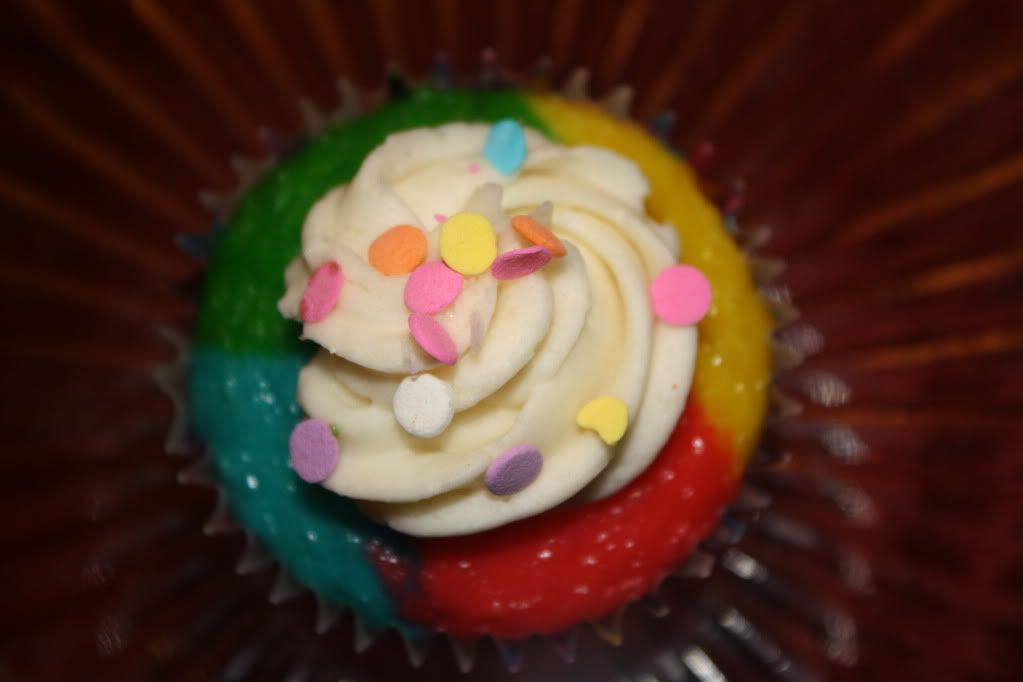
In honor of my big girl, I made these special cupcakes, a recipe I've been eying for a while now from one of my favorite blogs, Our Best Bites. They turned out wonderful and I'm told they didn't taste too bad either.


I'm not going to lie to you though, these cupcakes require serious commitment. It took a lot of time, and unless its someones dying wish, I'm not sure I'll make them again. Almost as challenging as Christmas Sugar Cookies. Not challenging in the way of the recipe itself, they were just very tedious and time consuming. But, whatever makes my little ones happy, I'll do (once)!


Just a couple tips if you do plan to make these. The instructions given on the website are really well written and explained. I followed them exactly and got perfect results. The cupcake part is just a doctored up cake mix, with some yogurt added to make them nice and moist.


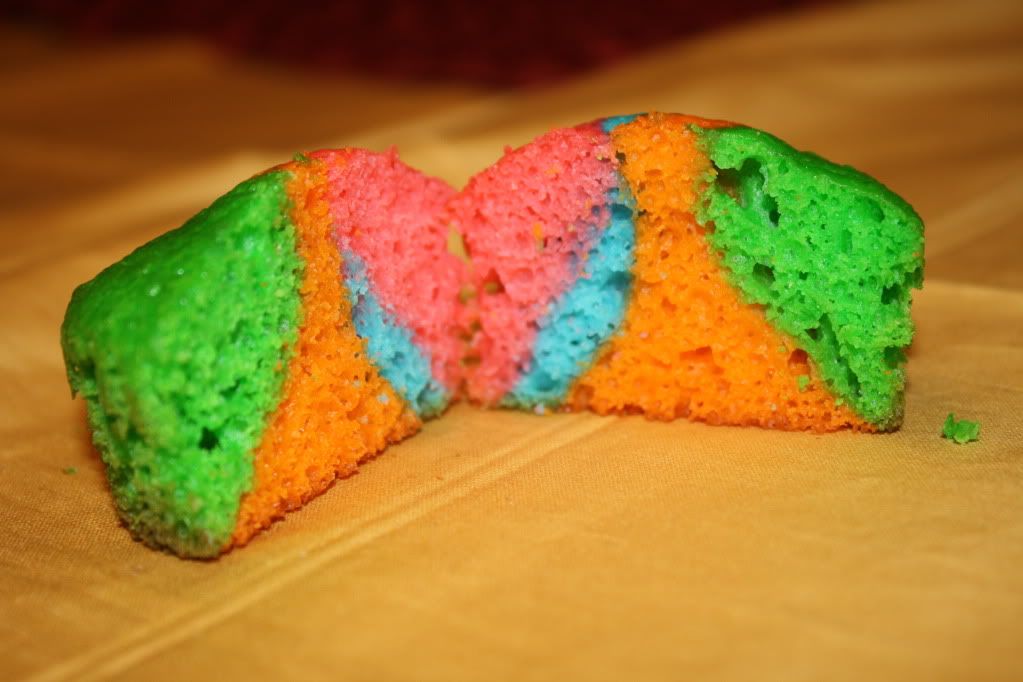
If you want to do a more striped look (shown on the website) you'll have to work harder for it. You have to spread each layer of color out evenly. I attempted to do one pan of striped and one pan of what you see above. Kind of a tye-dye effect, which is achieved by simply plopping colors in the muffin cup randomly. This method was more my style and didn't take as long.


The frosting for these cupcakes is the real kicker. Its unlike any frosting you've probably ever made or tasted. It starts with a flour and milk mixture heated until thickened on the stove, and then cooled and whipped with butter and sugar. A word of warning, if you don't have a stand mixer, don't even attempt this. You have to beat the icing for 7-9 whole minutes. Crazy! But, I figured if someone was willing to go through this much trouble for frosting it has to be good, and it is!


So, there you have it! Colorburst cupcakes. I haven't shown them to the birthday girl yet because she'd never be able to hold off on devouring them until tonight, but I just know she's going to love them!


Recipe found here:  Colorburst Cupcakes

Friday, December 17, 2010

Christmas Sugar Cookies

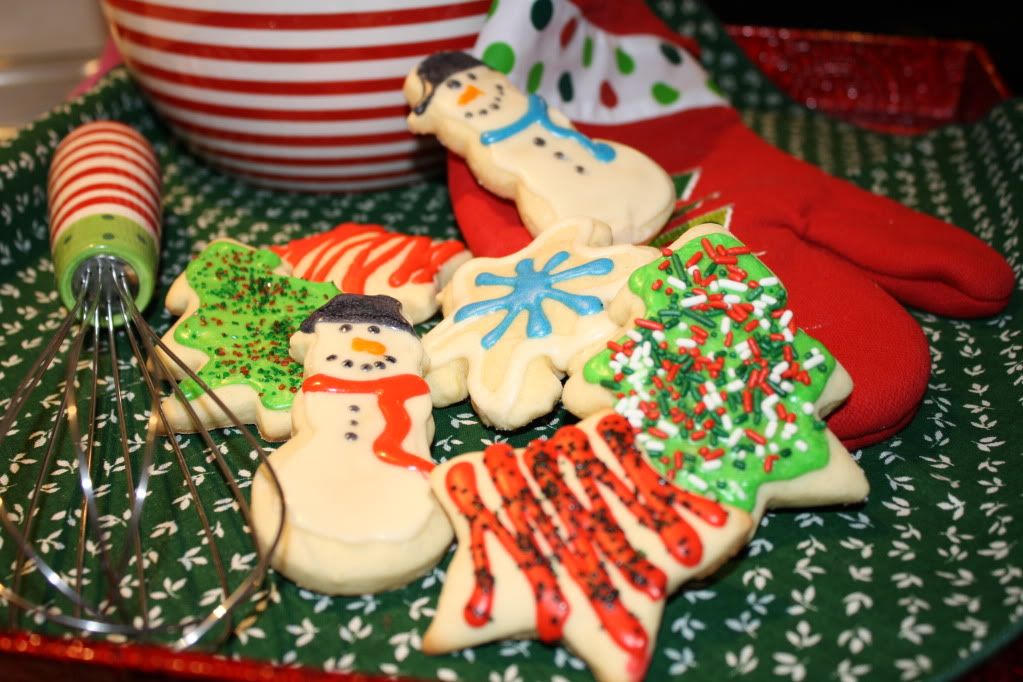
Most of us probably have fond childhood memories of making and decorating rolled sugar cookies. Its certainly one of my favorite memories with my mom. I replicate this tradition with my kids each Christmas, but most years its a rather half-assed attempt. I do make the cookies from scratch, but I usually use a store bought frosting and go really simple on the decorations.

Well, not this year. Not when I have a blog to impress. I went all out. We're talking Wilton tips and cake decorating bags and food coloring. Serious decorating equipment, which I have absolutely no idea how to use. I've said it before (but don't worry, I'll say it again) that I'm just not a baker. So, I tend to forget that sugar cookies (even my half-hearted attempts in the past) are messy, tedious, time consuming and freaking exhausting! And its twice as bad when you're doing it 100% from scratch and attempting intricate decorations! I have to laugh though, even my most intense effort didn't result in a product half as cute as some of the blogs I follow. How do you people get your cookies so perfect!?

This is why I should just stick to my comfort zone, the true Pie Hole nature: EASY PEASY. Its worth it in the end to create lasting memories for my children, but I just want to go on record and say that sugar cookies are a PITA! (Love you, kids!)

Since it may never happen again, I made sure to document the whole day (which consisted of about 5 hours on my feet...yep, still whining.).

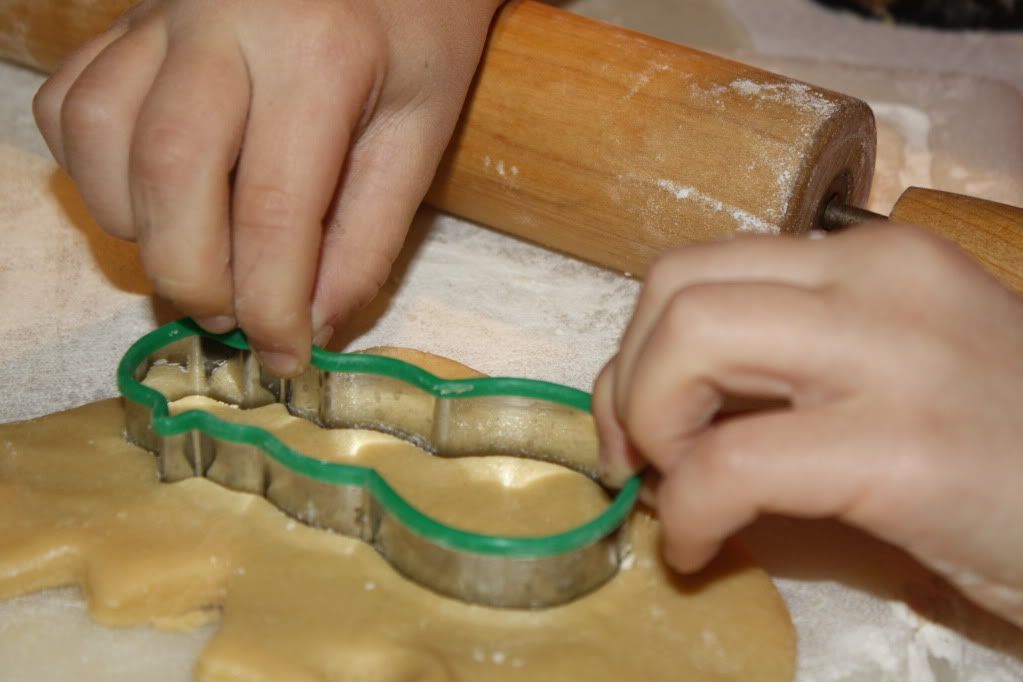
A-cookie-cutting we go!


And we're off with decorating...


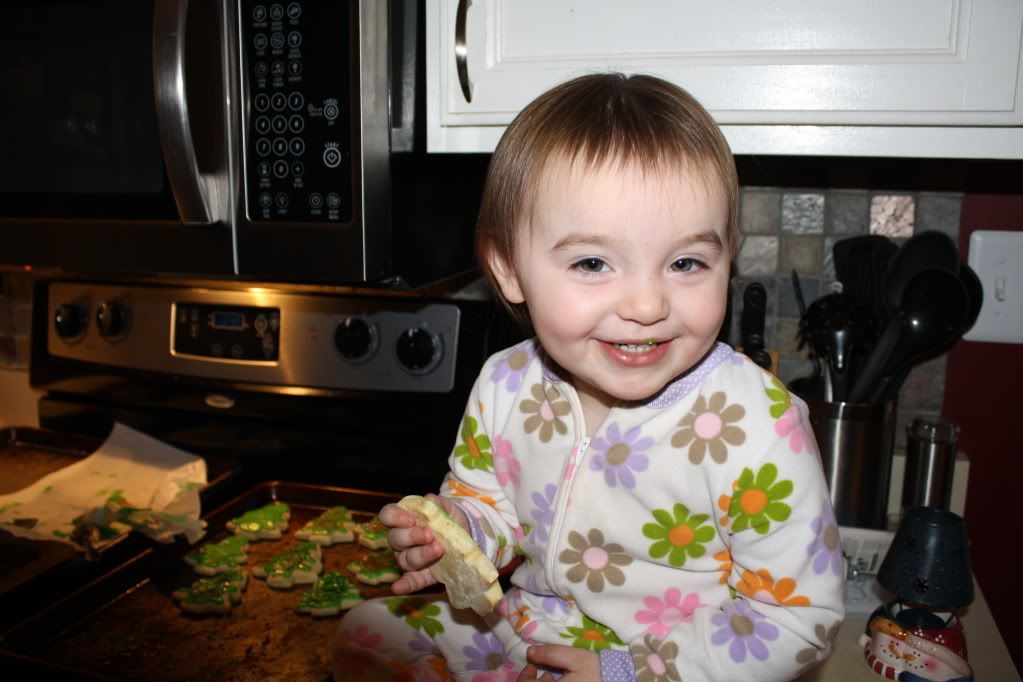
Someone just couldn't wait to do a taste test.


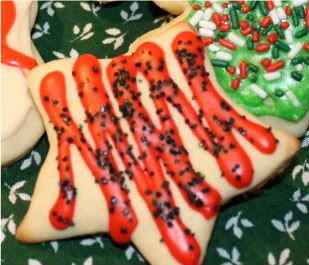
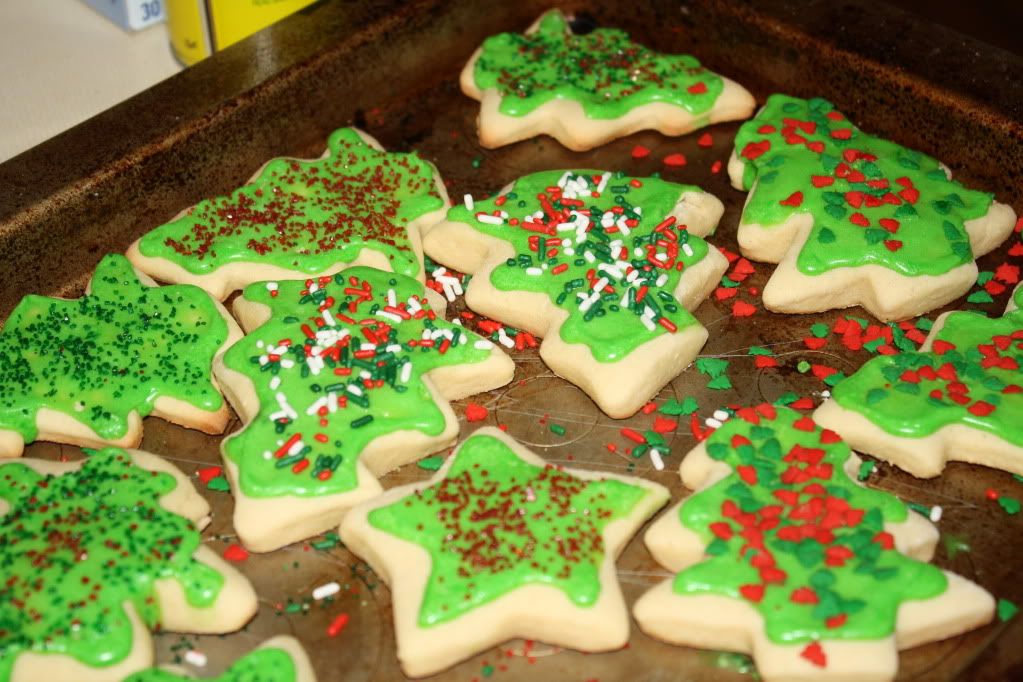
You have your garden variety stars....


 And Christmas trees....


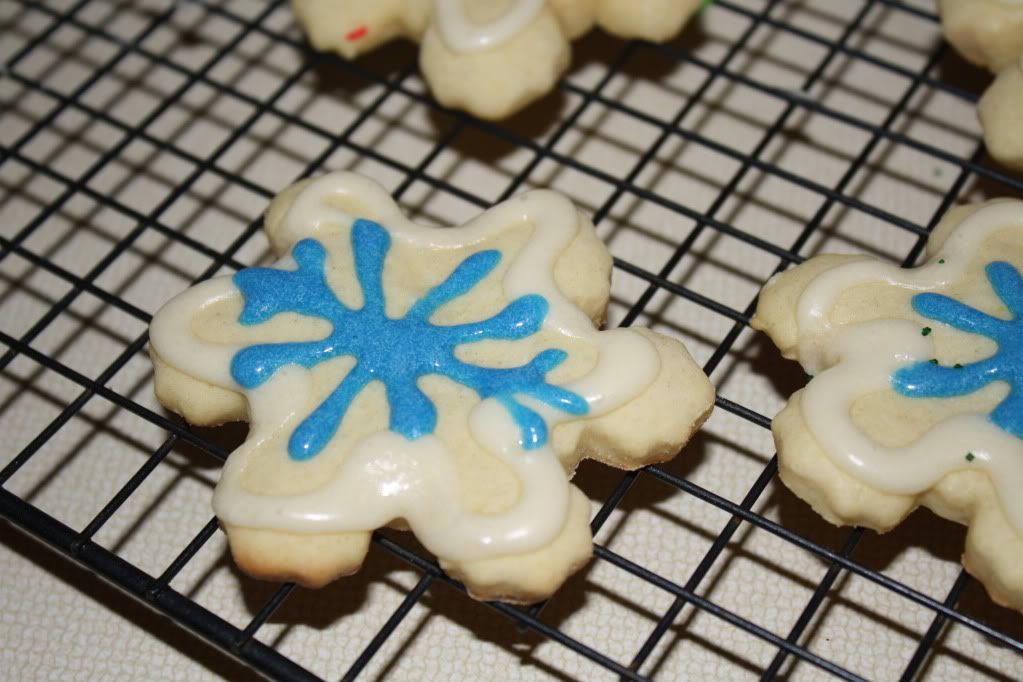
Then we get a little more sophisticated (shut-up) with the snowflakes.


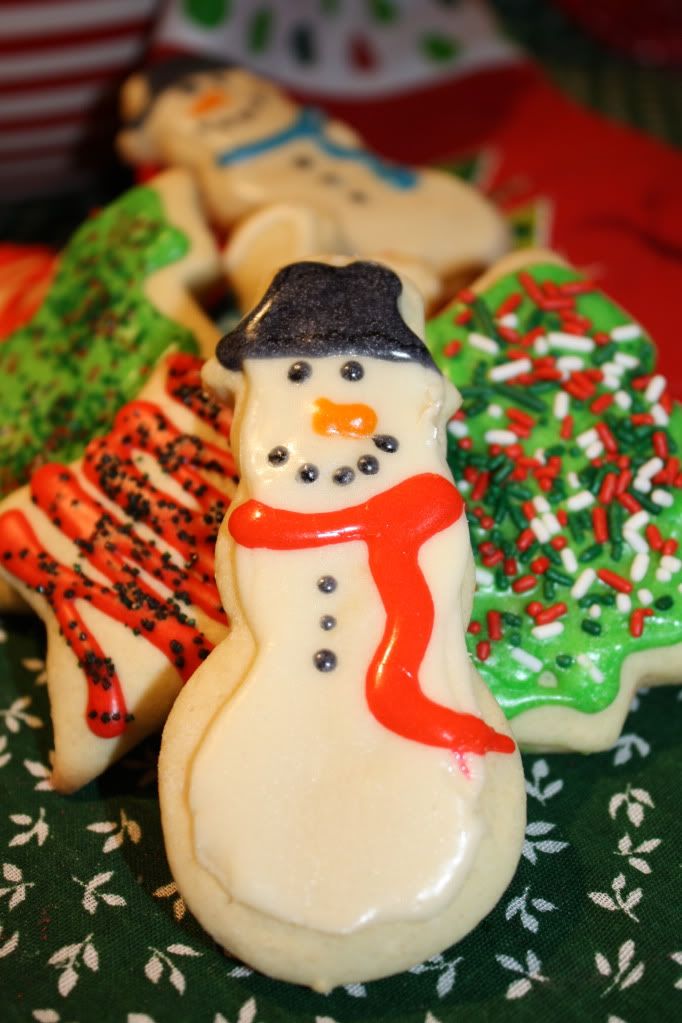
Finally, my true pride and joy (FOUR different frosting colors on ONE cookie, I'll have you know), say hello to Frosty.

So a long hard day of work was all in all a success, anything for the kids, right? I have to admit, they make for pretty pictures (and so do the cookies).


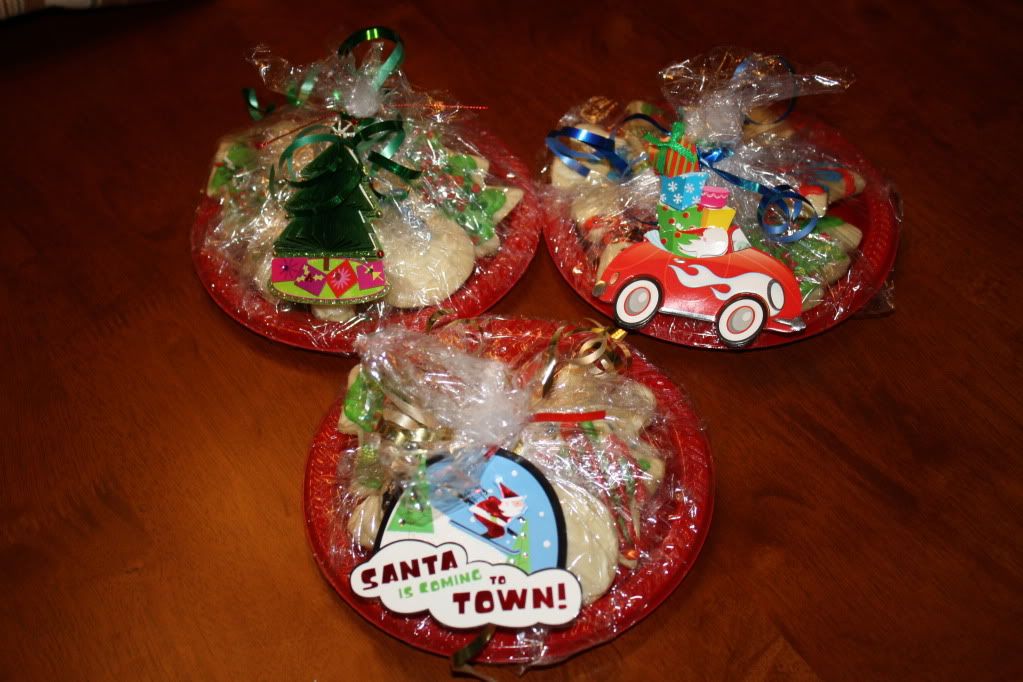
I even made little cookie packages for the kids to take to their teachers. How cute are these? Go ahead and say it, I'm pretty much the most creative person you know.


Rolled Sugar Cookies
Source: http://allrecipes.com/Recipe/The-Best-Rolled-Sugar-Cookies/Detail.aspx?prop31=4

Ingredients


  • 1 1/2 cups butter, softened


  • 2 cups white sugar

  • 4 eggs

  • 1 teaspoon vanilla extract

  • 5 cups all-purpose flour

  • 2 teaspoons baking powder


  • 1 teaspoon salt


  • Directions:
    1. In a large bowl, cream together butter and sugar until smooth. Beat in eggs and vanilla. Stir in the flour, baking powder, and salt. Cover, and chill dough for at least one hour (or overnight).
    2. Preheat oven to 400 degrees F (200 degrees C). Roll out dough on floured surface 1/4 to 1/2 inch thick. Cut into shapes with any cookie cutter. Place cookies 1 inch apart on ungreased cookie sheets.
    3. Bake 6 to 8 minutes in preheated oven. Cool completely.
    Frosting

    Ingredients:
    • 4C powdered sugar
    • 2/3C butter
    • 1t vanilla
    • 2T milk

    Directions:
    Beat all ingredients together and pipe or spread onto cookies. It will harden as it sets.


    Wednesday, December 15, 2010

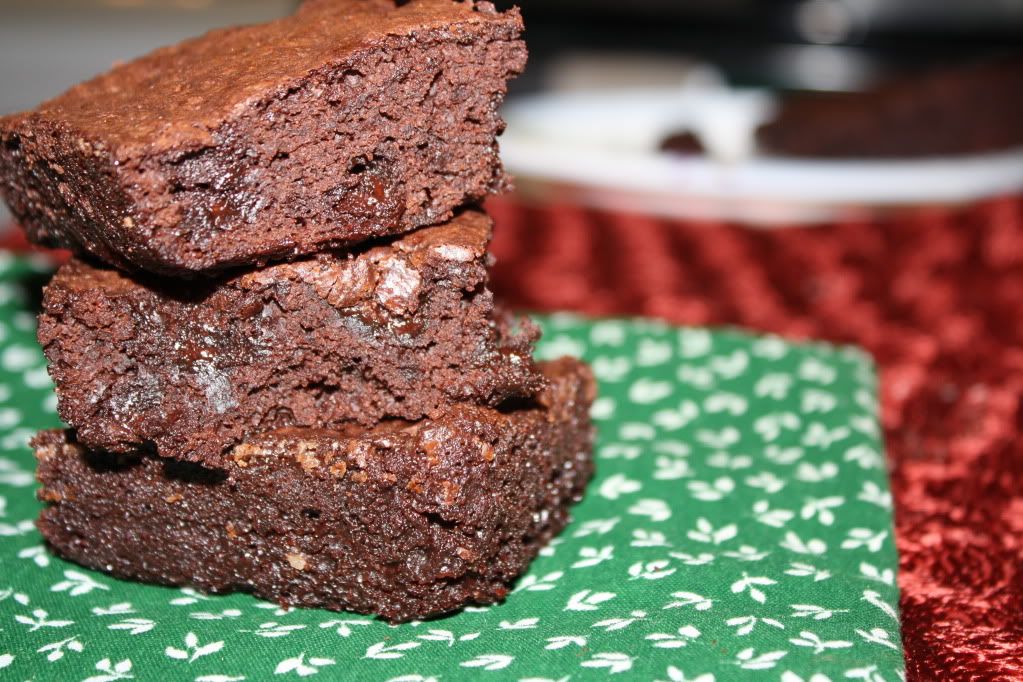
    Christmas Brownies

    Brownies may possibly be my favorite sweet treat. Oh, who am I kidding, I could also say that about red velvet cake or chocolate chip cookies, or peanut butter bars... The truth is, I have an insatiable sweet tooth! I experimented with these brownies in an attempt to Christmas them up. Cookies usually get the Christmas glory, but what about brownies? This is a super easy treat to whip up in no time. Impress your co-workers or your kids' teachers (or yourself, I won't tell)!

    No one has to know they came from a box, especially when you'll be adding a couple semi-homemade twists. As far as I'm concerned, if you add one thing to a boxed brownie/cake/cookie mix, it becomes your own creation, and you may therefore claim credit for making it from scratch. That's my story, and I'm sticking to it! Peppermint extract transforms these brownies into a lovely winter treat, and the addition of cream cheese frosting and Christmas sprinkles almost make them so cute you won't want to eat them! Almost. They are delicious without the frosting, but go ahead and indulge...its Christmas!


    Christmas Brownies
    • 1 box brownie mix (Trader Joe's Truffle Brownie mix is to die for!)
    • 1t peppermint extract
    • cream cheese frosting
    • Christmas sprinkles
    • optional: chocolate chips

    Directions:
    Prepare brownies according to package directions, stirring in 1t of peppermint extract.
    Allow brownies to cool (tip: You can cut them when they're hot if you use a plastic knife, I swear its a great trick!).
    Frost with cream cheese frosting and add sprinkles!


    Post linked at:
    Real Food
    Healthy Home Economist
    Food On The Table

    Monday, December 6, 2010

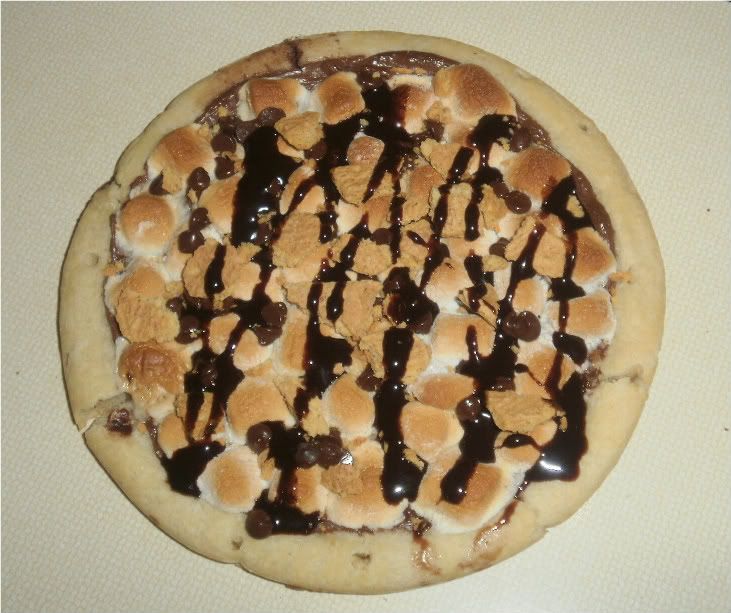
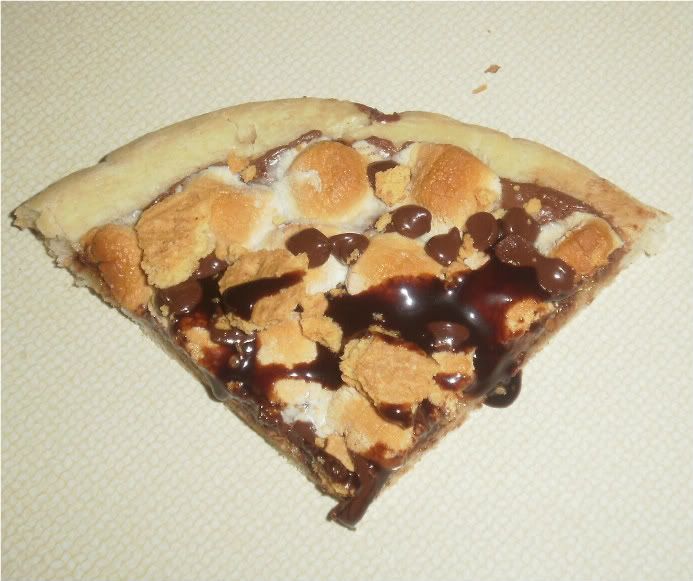
    Nutella S'mores Pizza

    Let me put it to you this was, if knew I was going to be stranded on an island and I could only take one dessert with me (the horror!), I would take this...provided the island had ovens because I have no clue how to start a fire. I would also prefer that it have a private cabin as well, I'm really not the sleep outside kind of girl. So, maybe I'm defeating the point of my deserted island metaphor, but you get my drift: this dessert is really, really good. Like, choosing between my children and a slice of this pizza would be difficult, kind of good.

    I am always shocked at the number of people I run across who have never tried Nutella. A life without Nutella is a sad, sad existence. If you're one of those people who have never had it, Nutella is a chocolate-hazelnut spread, much like the consistency of peanut butter. Its absolute perfection. This would be the perfect recipe to get you hooked on try Nutella for the first time. You'll thank me later!


    Nutella S'mores Pizza
    • 1 mini pizza crust
    • 1/2C mini marshmallows
    • 2 graham crackers
    • Nutella
    • chocolate chips
    • chocolate syrup
    Directions:
    There is no exact science here, you just throw it together!
    Preheat oven to 425.
    Spread Nutella on pizza as base, top with marshmallows.
    Bake for 10-15 mins until marshmallows are golden brown.
    Top with crumbled graham crackers and chocolate chips, drizzle with chocolate syrup.

    Monday, November 22, 2010

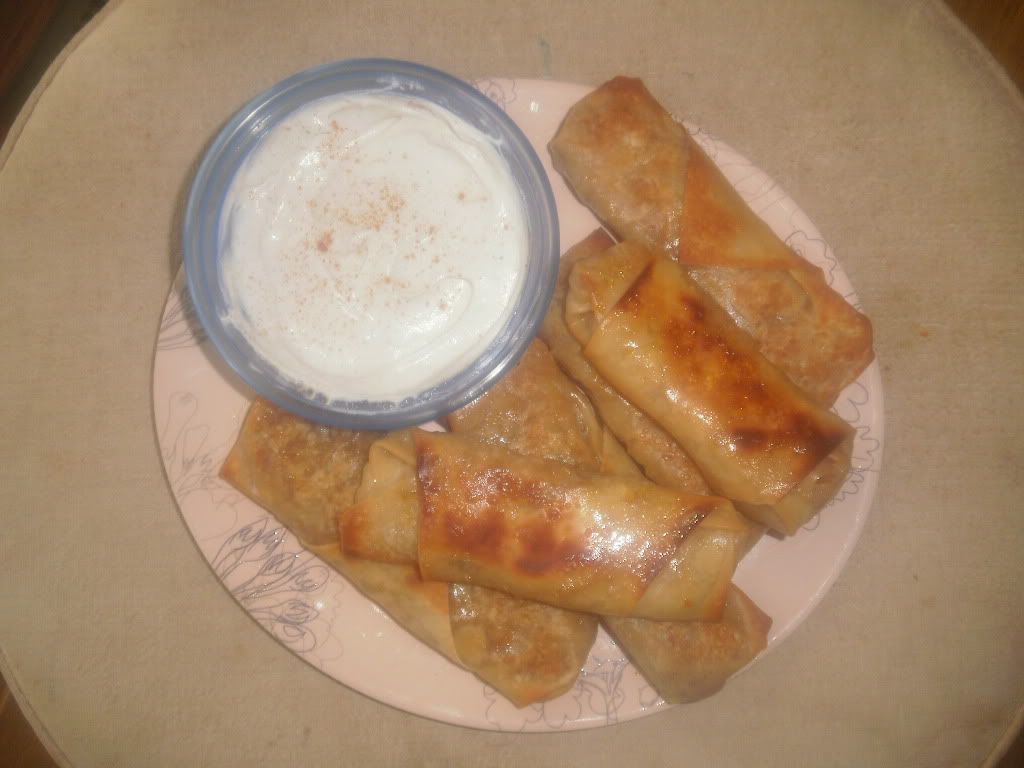
    Pumpkin Pie Egg Rolls

    Yep, that's right. I said Pumpkin Pie Egg Rolls. One of the reasons Fall is my favorite season is because of the many of ways I get incorporate pumpkin into my cooking. Every year when Fall comes to an end, I pledge to continue making pumpkin-y things all year round because its just silly that something so delicious only gets utilized four months out of the year. Then I, along with the rest of the world put the pumpkin away and forget all about it until Fall comes around again. These little gems have single-handedly convinced me to make sure I have pumpkin in my cabinets all year long!


    If you like pumpkin pie, you have to try these. They are like little mini, inside out pumpkin pies! Dunk them in some spiced cool whip and you have a complete pumpkin pie experience without having to make (or eat) a whole pie! I have so much fun reinventing old favorites. How neat would it be to serve these for Thanksgiving dessert instead of pumpkin pie? I'd love to see the looks on everyone's faces!


    Pumpkin Pie Egg Rolls

    • 1 cup canned pumpkin puree
    • 4T brown sugar
    • 2T maple syrup
    • 1T pumpkin pie spice, plus 1t
    • 15 packaged egg roll wrappers
    • 1T sugar
    • 1T cinnamon
    • 1C cool whip

    Directions:
    Preheat oven to 400.
    Mix pumpkin, brown sugar, maple syrup and 1T pumpkin pie spice together.
    Divide the mixture among the egg roll wrappers and roll up (the package will show instructions).
    Place egg rolls on a sprayed baking sheet and lightly coat with cooking spray.
    Mix sugar and cinnamon together and sprinkle on top of the egg rolls.
    Bake for 15 minutes, flipping once. Sprinkle the opposite side with the remaining cinnamon/sugar.
    For dip: Mix cool whip and 1t pumpkin pie spice.

    Friday, November 12, 2010

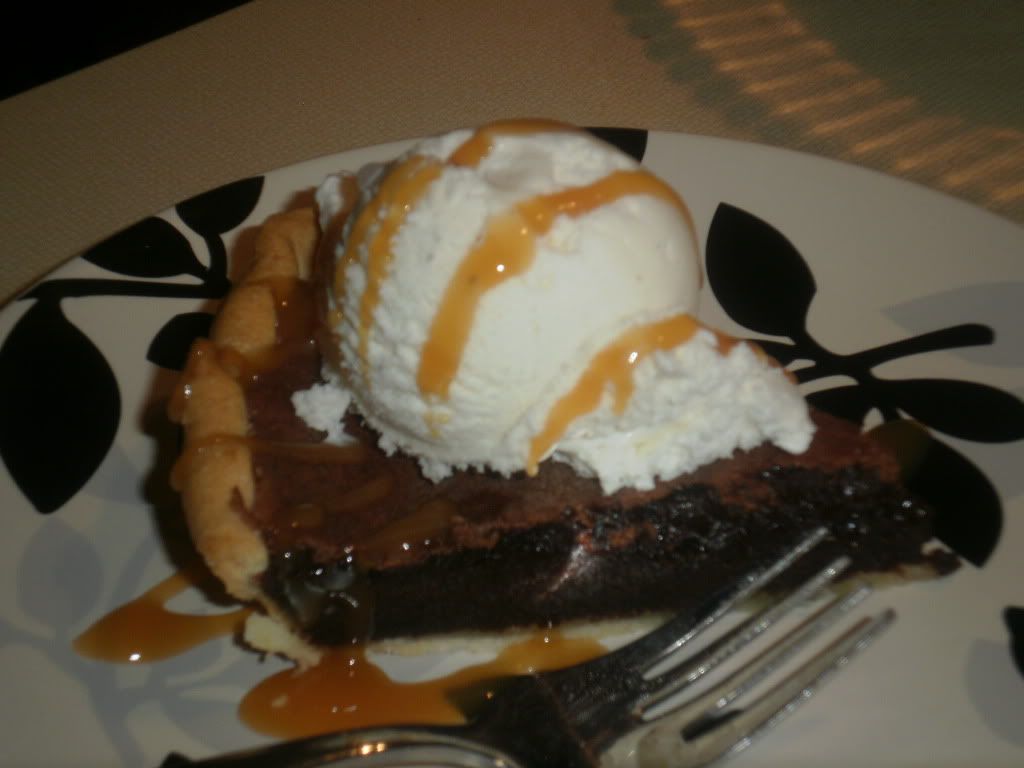
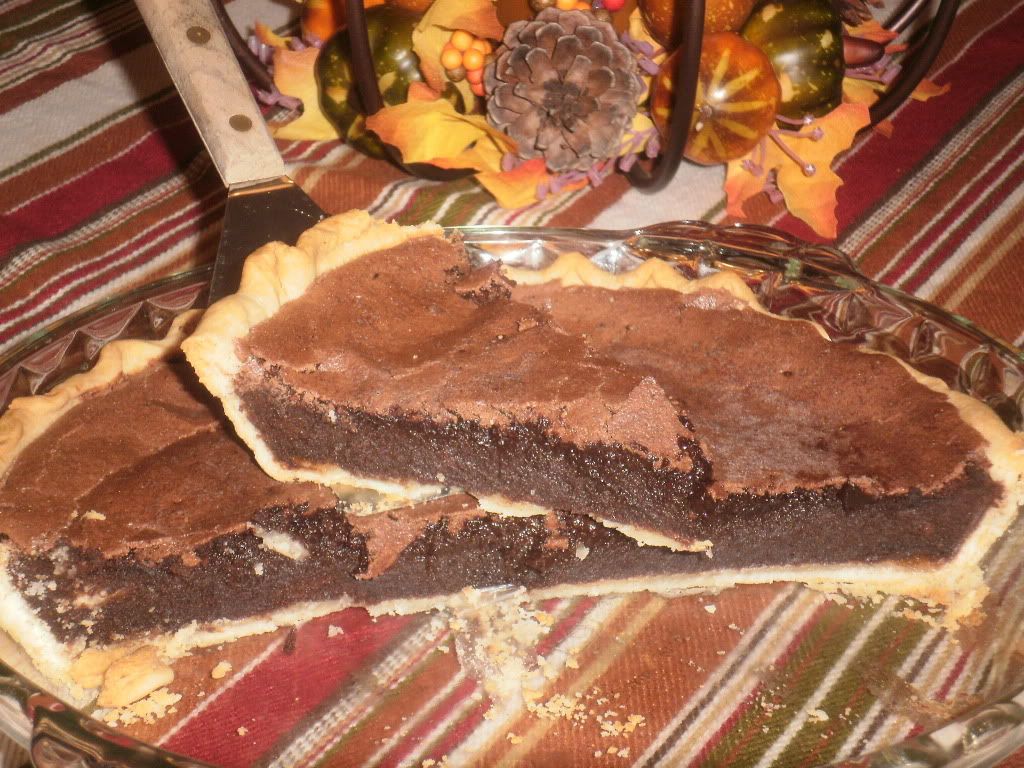
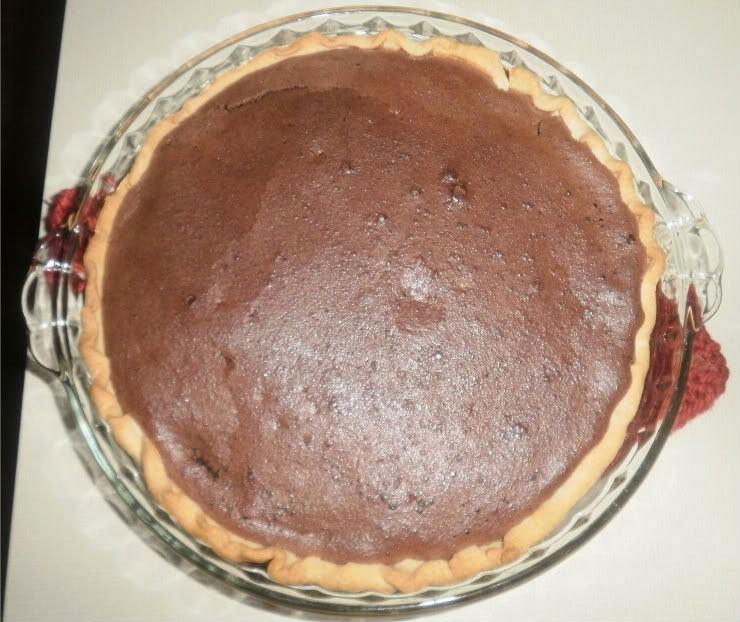
    Brownie Truffle Pie

    Finally, a pie recipe on The Pie Hole!


    I have to take a deep breath, and a moment to collect myself as I write about this pie. As its creator said best, this is a dessert you would serve Oprah, if Oprah were coming to your house for dinner. I think that pretty much sums up anything I could hope to say about this pie. The name really says it all...it tastes like brownies and truffles...and pie! (For you locals, think Ukrops Fudge Pie.) Since I don't seem to be able to ever follow a recipe as its written, I added a little bit of instant coffee granules to bring out the chocolate flavor. I think next time I'll try some walnuts, they would be a marvelous addition.


    Now, I usually pride myself in sharing mostly healthy recipes but every once in a while I like to post a splurge recipe. Today would be "every once in a while," in case you were wondering. I haven't calculated calories on this pie because I don't want to know, and if anyone does please keep it to yourself. If you come back here and tell me I'm going to be forced to...to...I don't know. Do something really mean. And scary. So, just don't.


    This rich pie was perfect served with a scoop of vanilla ice cream and a drizzle of caramel on top. You all know I'm not a fan of making huge desserts that I'm forced to consume without help, so I made this for guests and they loved it! I took the rest to work and was asked to "make another one of those and bring it in please." This was such an impressive dessert that took almost no effort. I didn't know a pie recipe containing so few ingredients even existed, but you know if its out there and its easy, I'll find it!

    Brownie Truffle Pie
    • 1 deep dish pie crust
    • 7 eggs
    • 1 cup cocoa powder (you'll probably want to sift it)
    • 1 1/2 cups sugar
    • 1 teaspoon of vanilla
    • My addition: 1t of instant coffee granules (you don't actually taste the coffee flavor, it just makes the chocolate flavor come alive!)
    Directions:
    Crack the eggs into a large bowl. 
    Beat in the cocoa powder, sugar, vanilla and instant coffee until well mixed. 
    Pour into pie crust. 
    Bake in an oven preheated to 400 degrees for 40-45 minutes, or just until the center of the pie is set.
    Cool before serving.

    Source: http://redux.com/f/1760165/Brownie-Truffle-Pie-Dessert-So-Good-I-d-Share-it-With-Oprah-The-Family-Kitchen

    Monday, November 8, 2010

    Pumpkin Muffins

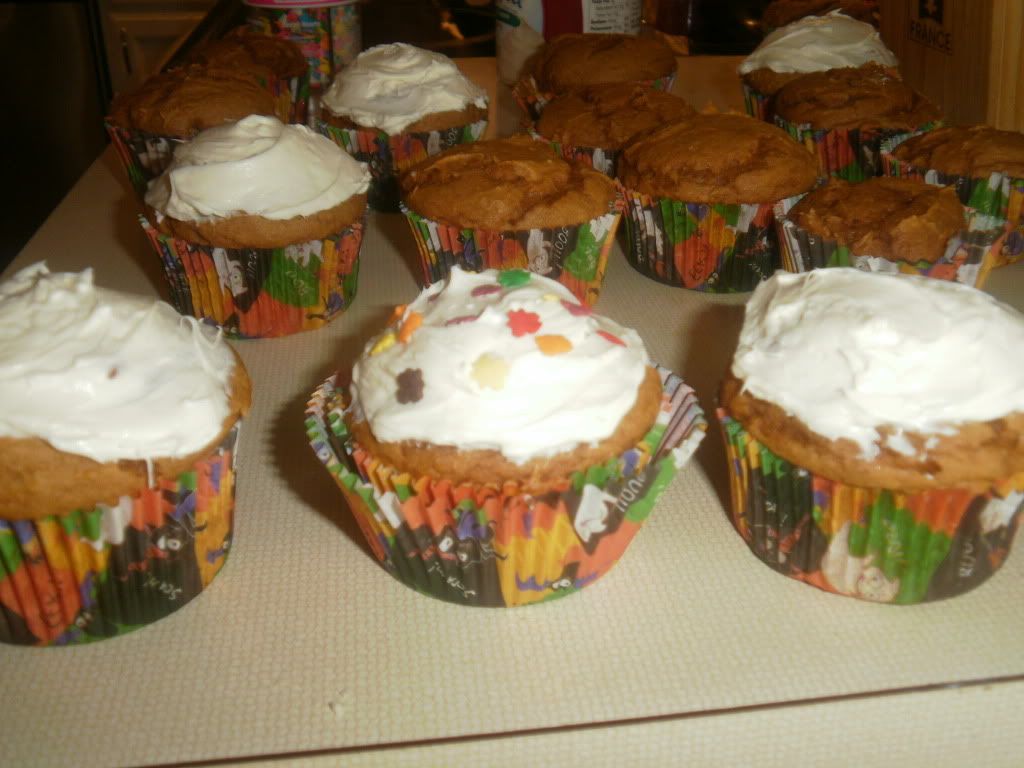
    This is one of those recipes that you give people and they go, "Really? Are you sure you didn't leave an ingredient out?" These muffins are comprised of only a boxed cake mix, a can of pumpkin, and a little applesauce. Where are the eggs? Where is the oil? You won't be needing them today! These muffins are actually very low in fat and calories (no, you can't eat the whole batch or that fact no longer applies), and only 2-3 WW Points a piece, depending on how many you make!


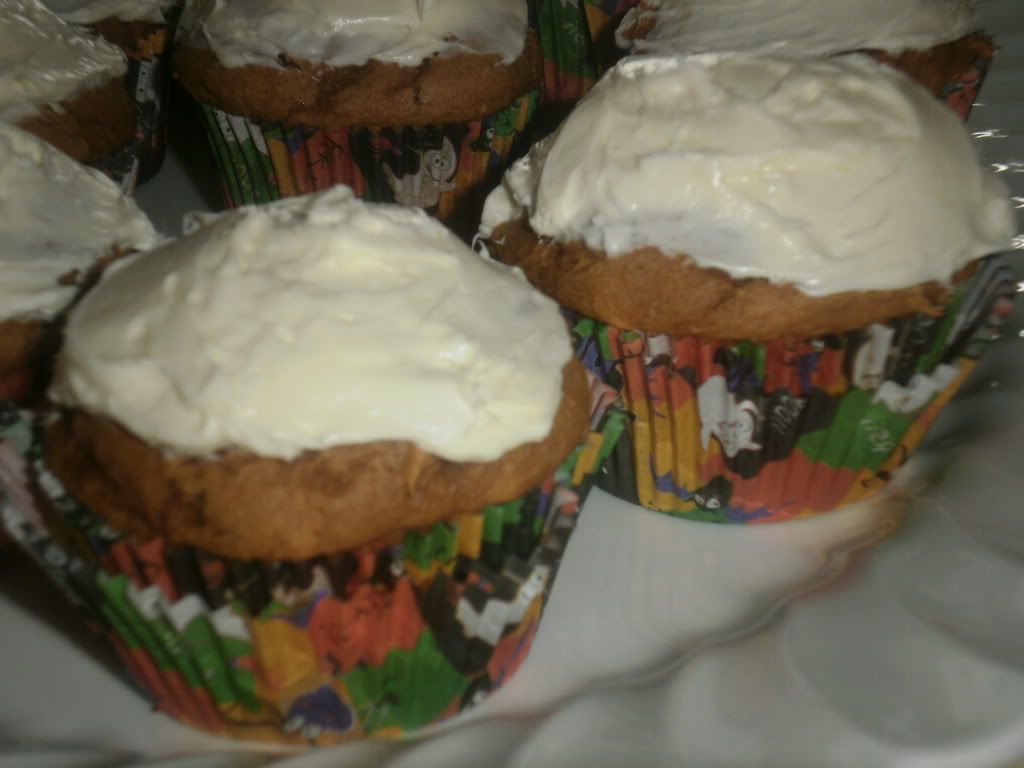
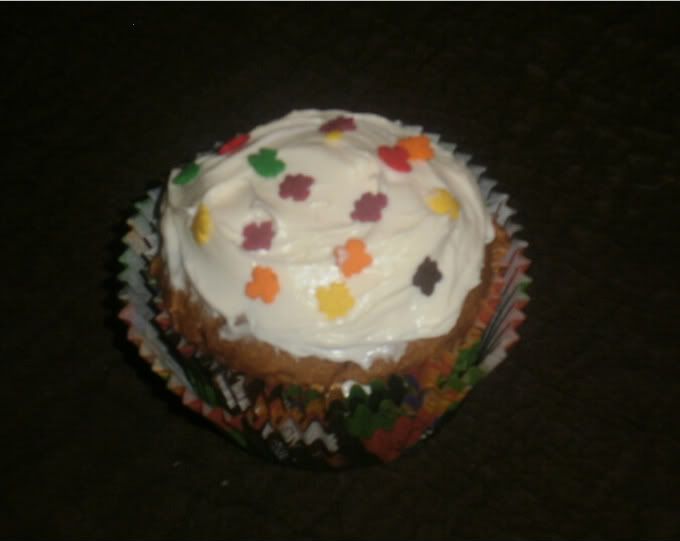
    I made these cupcakes for some guests I had in my home as well as to take to a friend who recently had a baby. Let's just say, I didn't make enough! Everyone loved them. They were the perfect consistency and they didn't stick to the paper even a little bit! That is one of my biggest baking pet peeves. I absolutely cannot stand it when a cupcake sticks to the liner. I frosted them with store bought cream cheese frosting, which made them fabulous, but if you want to keep the calories down you could use fat free cool whip or just eat them plain. I decorated some with leaf shaped sprinkles...here they are all packaged up and ready to be delivered to my friend!


    The method of these muffins can be applied to other cake mixes as well. You could substitute chocolate, devil's food or carrot cake mix for the spike cake. I'm even considering trying it with red velvet cake mix! I'll let you know how that one turns out. Have fun with these!


    Pumpkin Muffins
    • 1 box spice cake
    • 1 can pure pumpkin (not pumpkin pie mix)
    • 1.5C applesauce (use cinnamon if you have it!)
    • 1t pumpkin pie spice
    • optional: nuts or chocolate chips
    Directions:
    Mix all ingredients together and bake according to packaged directions. If you want a cake instead of cupcakes, this will work with a sheet pan, round cake pans or a bundt pan as well.


    Wednesday, November 3, 2010

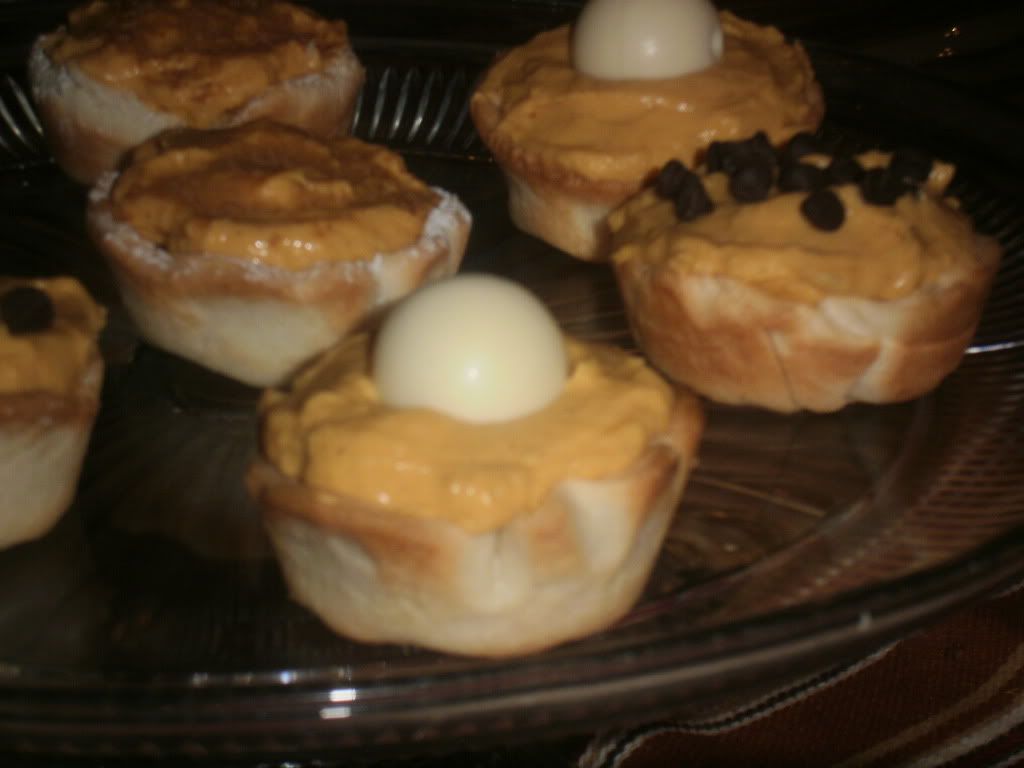
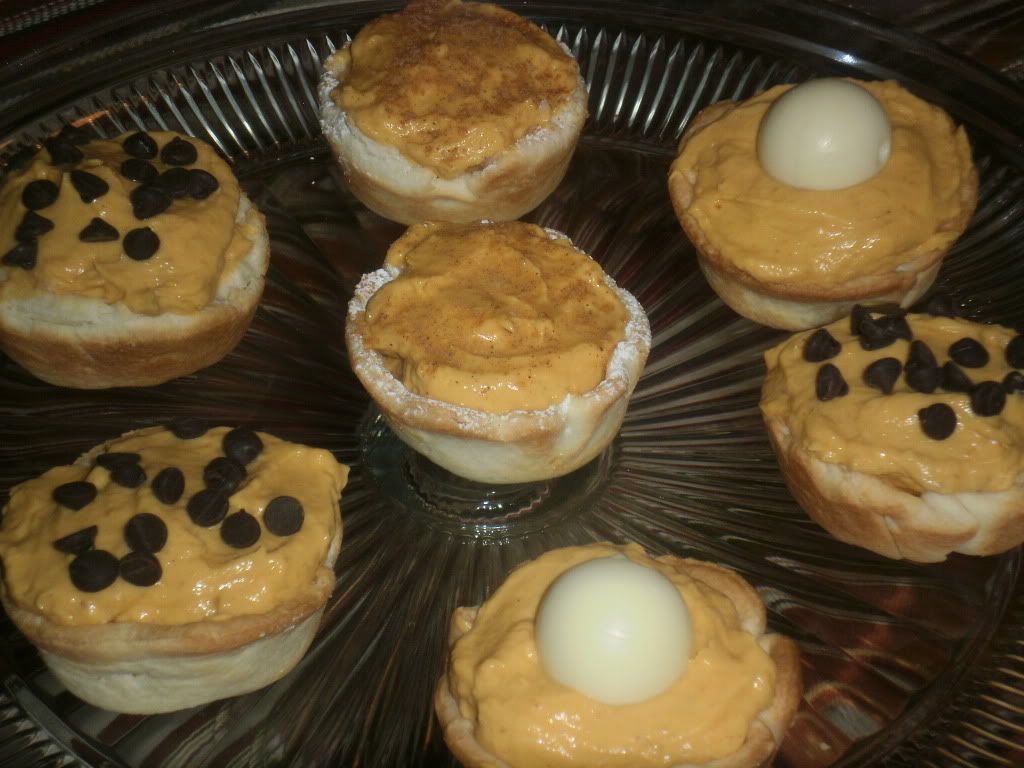
    Mini Pumpkin Fluff Pies

    Dear Pumpkin, I'm so glad its Fall so that we get to hang out for the next few months. We're going to have so much fun together! But please, try not to make me fat, okay? xoxo, Vittoria


    Oh, hello. Didn't see you there. My pal, Pumpkin, and I were just having a little chat. You see, I love pumpkin, and its actually really good for you but its often paired with things like butter, cream, sugar and other items that stick to your ass like a magnet. Making it...not so good for you. But have no fear, I am about to show you that you can still satisfy your pumpkin pie craving without having to break out your fat pants! (And don't act like you don't have fat pants.)


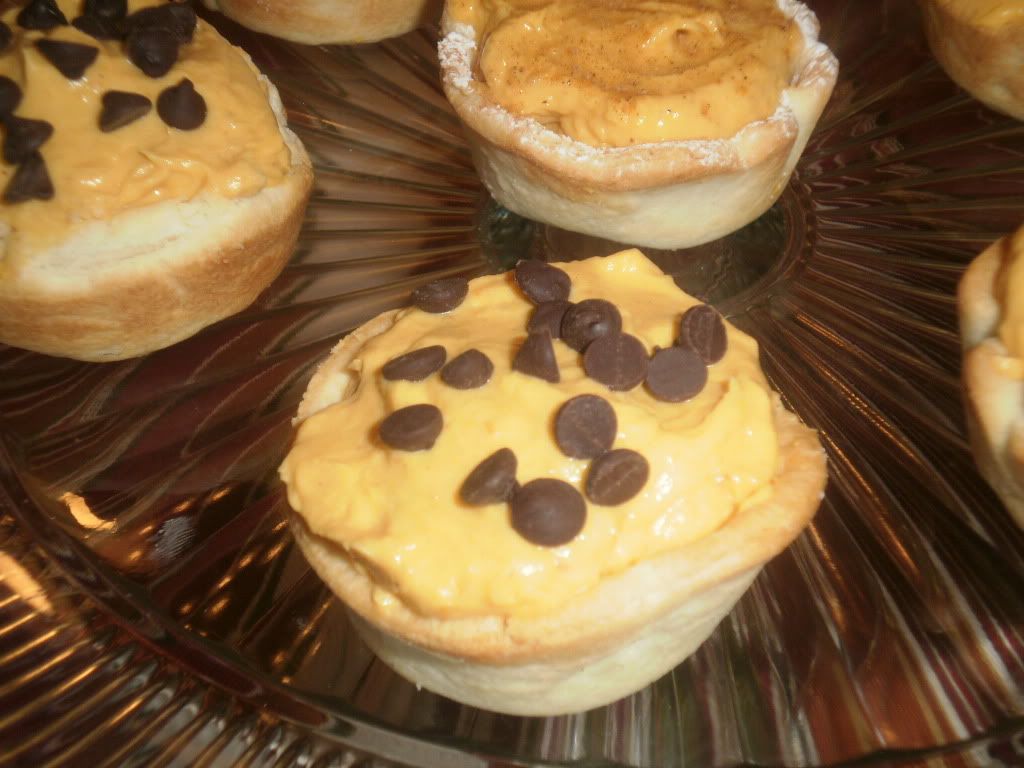
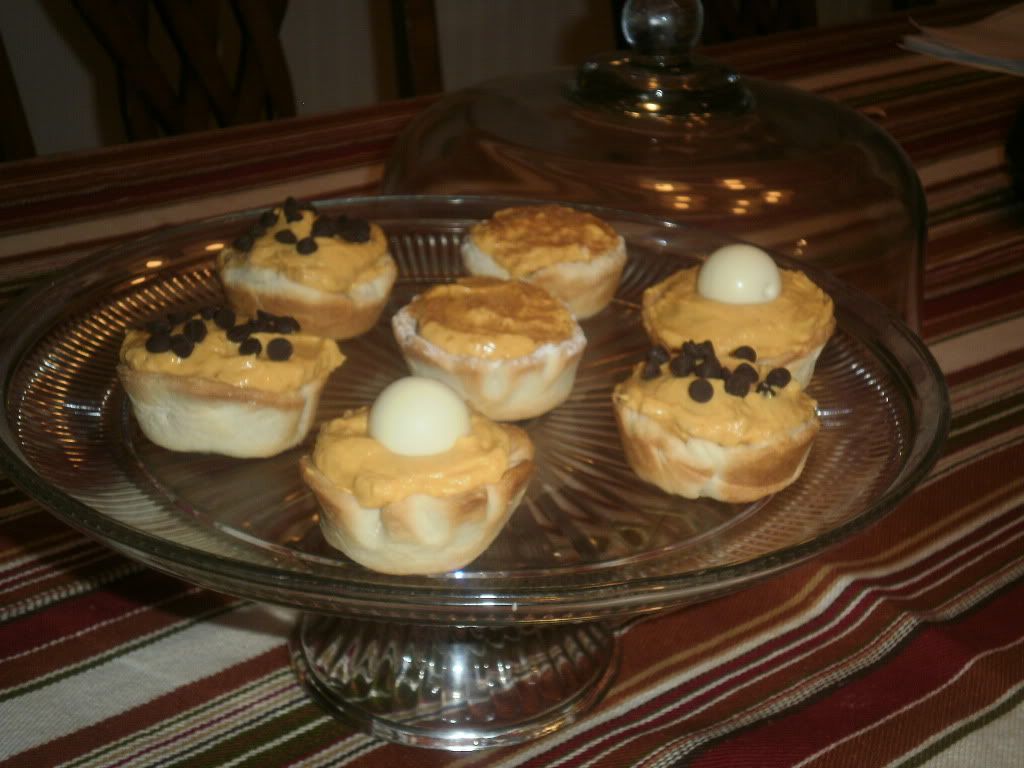
    How cute are these little babies?? I almost didn't want to eat them. Almost.


    These mini pies are like pumpkin clouds resting in a golden, flaky crust. They taste like a fluffier version of pumpkin pie..and if all that isn't appealing enough, they are super cute! Today is actually buy one get one free day, because this recipe is more like two recipes! The pumpkin fluff (filling) part of the pies is something I've been making for years. It's wonderful all by itself eaten with a spoon (or your finger, I won't tell), or as a dip (try dippers like graham cracker sticks or fruit!).


    There is a lot you could do with the fluff, but I only recently had the epiphany to use it as a pumpkin pie filling. I haven't tried using it to make a whole pie because, well, I can't have whole pies sitting in my house staring at me. The portion control of mini pies suits me much better! I imagine though, if you were so inclined to make a full size pie with this recipe that it would work just fine and dandy. I hope you enjoy this one!


    Mini Pumpkin Fluff Pies
    • 1 container fat free cool whip
    • 1 can of pumpkin puree
    • 1 box of sugar free vanilla pudding
    • 1 store bought pie crust
    • chocolate chips, sprinkles, etc. for decorating
    Directions:
    Make the pumpkin fluff:
    Whisk pumpkin with pudding mix.
    Fold in cool whip.
    Refrigerate for 1 hour until set.
    (You'll have lots of pumpkin fluff leftover after making these pies...you're welcome.)
    Roll out pie crust onto a flat surface.
    Using a glass or biscuit cutter, cut out circles that are approximately 3inches in diameter. You'll have to gather the scraps and roll out the dough a few times to use it all up. I got about 7 mini pies out of 1 crust.
    Press each circle into a muffin tin, and form the dough up the sides of the cup.
    Bake at 400 for approximately 10 mins until slightly golden.
    Allow to cool and fill with pumpkin fluff.
    Decorate! (I did some with mini chocolate chips, some with a dusting of pumpkin pie spice and some with a Lindt Truffle on top. Have fun!)

    Friday, October 15, 2010

    Single Serving Cake!

    Baked goods are my weakness. I can pass by candy and ice cream all day long, but you put a cupcake in front of me and I'm doomed. For those of you who don't know, I'm currently in a serious diet crunch, preparing for my wedding which takes place exactly three months from today! I'm working out twice a day and counting calories like its my job, so baked goods are the last thing I need right now.


    Being that as it may, for some reason Fall brings on this uncontrollable urge to stuff carbs into my face. I have already pulled out all my favorite pumpkin bread and pie recipes in preparation of sharing them with you. Like I said, baked goods are my weakness. I'm an equal opportunity cake lover...but red velvet is my absolute favorite. Against my better judgement the other day at the store, I bought a red velvet cake mix and a can of cream cheese frosting.


    Then I went home and we had a little stare-off. Me and the cake mix. I'd pull it out of the pantry, put it on the counter, walk by it a few times. Put it back in the pantry and leave the kitchen. Come back, repeat. Then I remembered a certain brownie mix called No Pudge (which is really very good if you haven't tried it!) that had an option to make a single serving brownie using non-fat vanilla yogurt. I thought it would definitely be worth a try to replicate this method using cake mix, especially if it kept me from baking and entire cake and subsequently eating entire said cake.

    Lucky for me, (and now you)...it worked!


    Single Serving Cake
    (Someone think of a more exciting name for something this awesome please!)

    2T cake mix
    1T non-fat vanilla yogurt
    1t-1T water

    Directions:

    You can double (or go wild and triple!) this by just doubling the ingredients.

    Measure two tablespoons of cake mix and one tablespoon of yogurt into a small bowl. If the cake mix is lumpy (which they often are) make sure you either break up the lumps with the back of a fork or run it through a sifter first. No one wants lumpy cake!

    Add 1t of water to start and whisk ingredients together.

    Add more water as needed, cake mix should be slightly thicker than the consistency of a normally prepared cake batter.

    Put cake mix into a microwave safe bowl or dish that has been sprayed with cooking spray.

    Microwave for about 1 minute.

    Scoop a dollop of frosting or cool whip on that baby and dig in!