Showing posts with label Sandwiches/Wraps. Show all posts

Monday, February 21, 2011

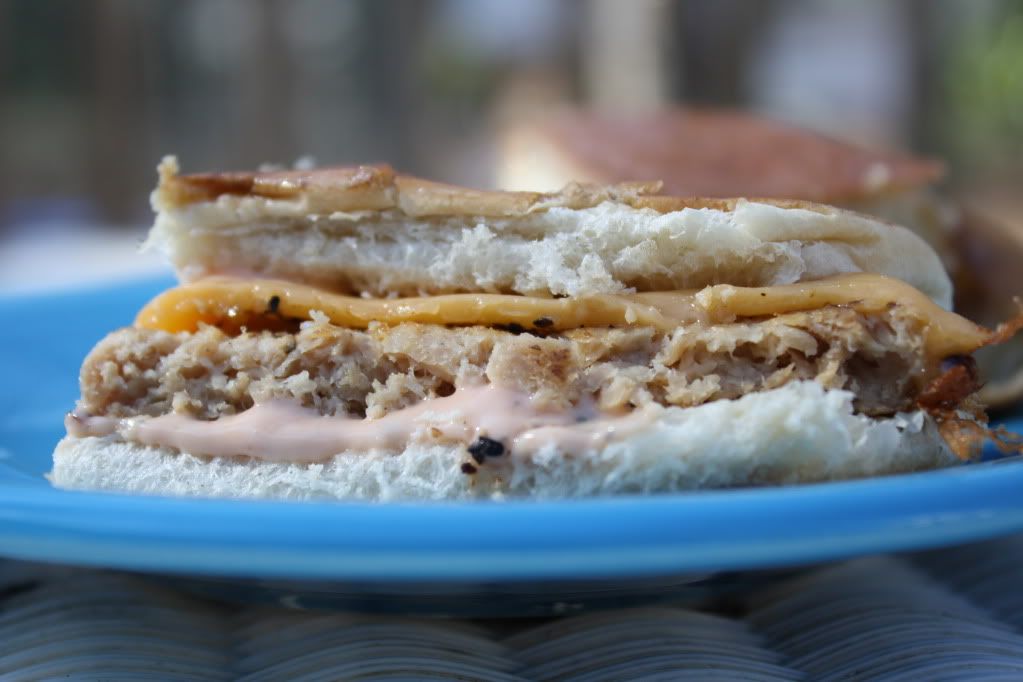
Skinny Big Mac

Oh yeah. We're going there. Now, to be honest, I'm not a huge Big Mac fan but I do love burgers. This is super quick and easy and satisfies my burger craving without costing me a day's worth of points. The trick to this one is a really low point veggie burger and Montreal steak seasoning. The seasoning really makes the veggie burger taste beefy and flavorful. Now, don't laugh at me, but when I made this I didn't have any hamburger buns, but I did have hot dog buns. So, I used that instead and just cut the burger in half! It worked perfectly and the buns I use (Whitewheat) are actually one less point for a hot dog bun than a hamburger bun. Score! (Since writing this I've since learned that Sara Lee Delightful Buns are the best bargain out there, two points for hamburger or hot dog!)


I also really love the sauce that goes on this burger. I got the idea from my friend Sheree who passed on a Hungry Girl newsletter outlining how to make your own Mac Snack Wrap. I loved the idea of the sauce using ranch dressing and mayo. I also added a little ketchup in the mix and it was fabulous! I'm going to start mixing it up to go on everything. This is definitely going to be one of my new go-to lunches/dinners (hell, why not breakfast?) when I need something low point and fast. As in, a quick FIX. (P.S.that was a hint to the points value of this meal, if you use the brands I've listed, but as always, double check for yourself!)


Skinny Big Mac
  • 1 Orginial Vegan Boca Burger
  • 1 slice of FF american cheese
  • 1 Whitewheat hot dog bun OR 1 Sara Lee Delightful Hamburger Bun
  • Montreal steak seasoning
  • 1t light mayo
  • 1t light ranch (I like Litehouse Lite Ranch - found in the refrigerated section with the salads)
  • 1t ketchup
Directions:
Preheat a skillet on medium and spray with cooking spray.
Place veggie burger in skillet and sprinkle both sides with Montreal steak seasoning.
Cook on both sides until done, melt cheese on top.
Spoon sauce onto bun and add burger. (If you're using a hot dog but, cut the burger in half)
Wipe out the skillet and spray once more with cooking spray.
Place the entire sandwich in the skillet for about 1-2 mins per side to lightly toast the bun.

Tuesday, January 11, 2011

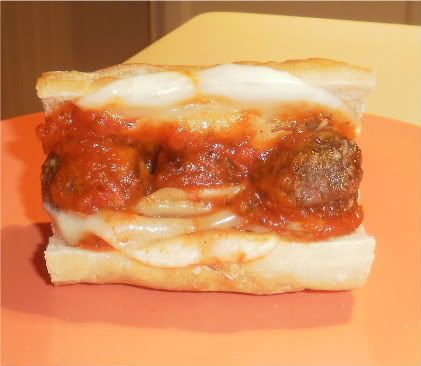
Italian Meatball Subs

I've been on quite the meatball kick ever since Sweet and Sour Meatballs. I never even considered making my own meatballs before starting this blog, especially when buying a frozen bag of them is so easy. The truth is that the first time I made them I just wanted to see if I could. Now, I don't think I'll ever go back to buying frozen meatballs. Sure, its the easy way out (which you know is a good thing in my book) but the taste doesn't even compare. From now on I will take the little extra time to make homemade meatballs!


Come on now, if I can do it, you can do it. Its as easy as mixing up the meat, shaping it into balls, and popping them in the oven. They freeze beautifully too, so you can whip up a big batch on the weekend and then freeze them until you're ready to use. It couldn't be easier!

 
Italian Meatball Subs
  • 1 lb ground beef
  • 1/2C italian style breadcrumbs (or regular breadcrumbs with 2t of italian seasoning)
  • 1t garlic salt
  • 1 egg
  • 1/4C parmesan/romano cheese
  • hoagie rolls
  • provolone cheese
  • marinara sauce
Directions:
Preheat oven to 400.
Mix first five ingredients together, form into balls and place on baking sheets.
Bake for 15-20 minutes, turning once if you wish.
Leave the oven on.
Split the hoagie roll, spoon marinara onto the bread, arrange meatballs and top with cheese.
Place the whole sandwich into the oven for 10 minutes or until cheese is melted and bread is slightly crisp.

Tuesday, November 30, 2010

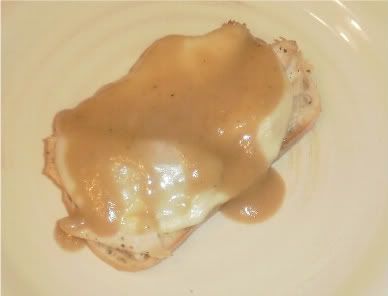
Open-Faced Turkey Melt

This turkey leftover recipe wins the honor of my second favorite turkey user-upper, right behind yesterday's pizza. Its comfort food at its finest. This is a good one to have a few days after Thanksgiving because it brings back all the happy feelings of Thanksgiving Day! I like to try to use up my turkey in unconventional ways after the big day so that it doesn't seem like I'm eating the same old turkey and gravy every time. This is basically just turkey and gravy, but reinvented in a different way to trick you into thinking you're eating something new and exciting.


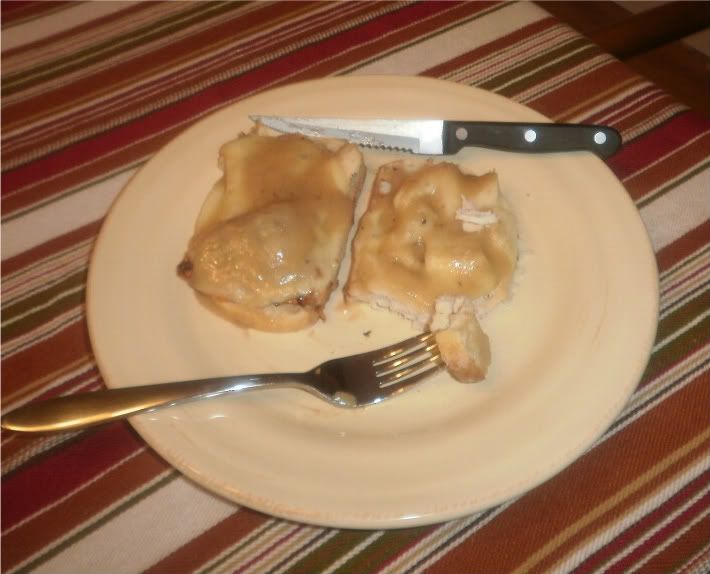
When I asked for a review of this meal after I served it, the answer was "Can we have them again another night this week?" Ding ding ding! You have to love a sandwich that you eat with a knife and fork. That totally puts this sandwich in the "dinner" category if you ask me. I usually have a hard time justifying sandwiches as dinner, but not this one! If you don't have leftover turkey, store-bought sliced turkey would work just fine, as would store-bought gravy. I do prefer homemade gravy, but I swear the store-bought stuff is good too. I hope your family enjoys this meal as much as mine did!


Open-Faced Turkey Melt
  • 4 slices bread (a crusty bread works best)
  • 4 slices provolone cheese
  • leftover turkey (or a few store bought slices)
  • leftover gravy (or a canned gravy)
  • salt and pepper
Directions:
Preheat oven to 350.
Place four slices of bread on a baking sheet.
Top with turkey and then add a slice of cheese.
Place in oven for 10-15 minutes, just until cheese melts.
Pour warmed gravy on top of each slice of bread and serve.


Monday, November 1, 2010

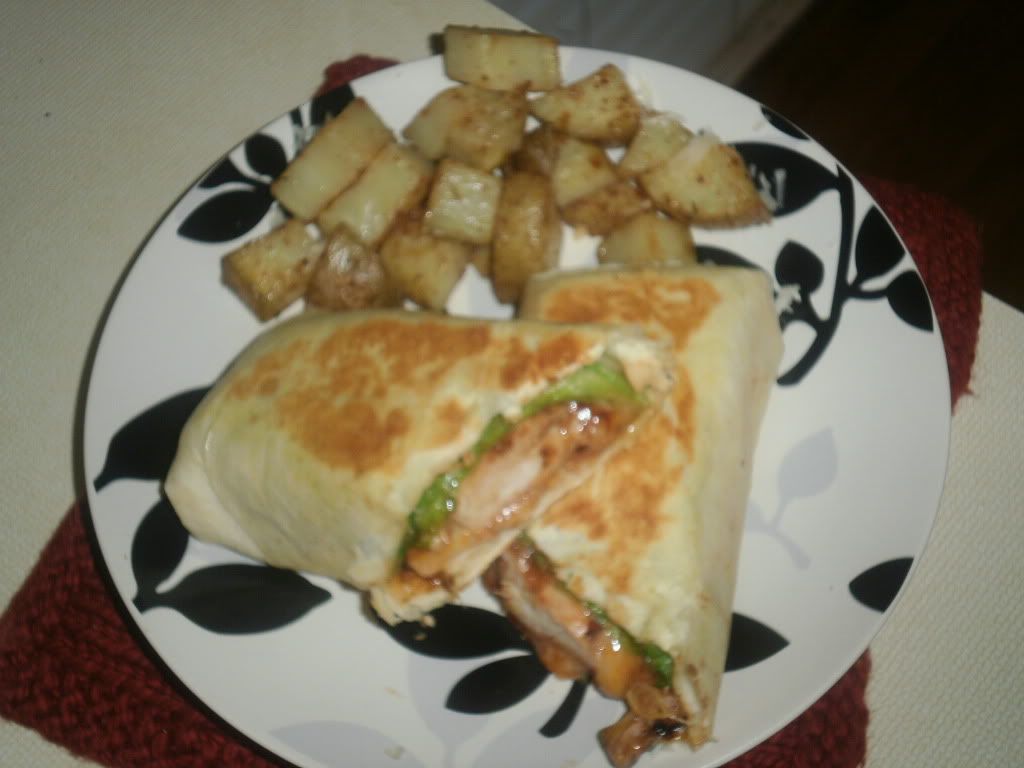
Grilled BBQ Chicken Wraps

Just because its Fall doesn't mean I'm putting my grill away! I love to grill all year round. And when I say "I", I technically mean The Mr....but I'm the mastermind behind the food creations, so I think I still get to take the credit for grilling. Right? Good, I'll take your silence as agreement.


This is one of those whip-up-really-quick-because-you-forgot-to-plan-for-dinner meals. What? You don't have a tab with that label on it in your cookbook? Well, go make one! I'll wait...


These ingredients are all things that I normally have on hand at all times. Chicken, cheese, BBQ sauce, tortilla and lettuce. Surely you guys have all those things, right? And if you don't have a grill, no worries, you can cook your chicken either in a skillet or in the oven and the result will still be delicious!

Grilled BBQ Chicken Wraps
  • 2 chicken breasts
  • 1/2C shredded sharp cheddar cheese
  • 1/4C BBQ sauce
  • 2 large (burrito style) tortillas
  • lettuce
Directions:
Grill chicken breasts until cooked through, occasionally brushing with BBQ sauce. (Or bake/fry)
After chicken is finished, cut into strips.
Heat tortillas in the microwave for 20-30 seconds to make them more pliable.
Assemble chicken, cheese lettuce and an extra drizzle of BBQ sauce in the center of each tortilla.
Roll up burrito style, tucking both ends in.
You can eat this right now and it will be delicious, however if you want to take an extra step you can toast the tortillas.
Heat a skillet on medium and spray with cooking spray.
Place the wrap seam side down in the pan for about 3 minutes and then flip to brown the other side.

Friday, October 29, 2010

Italian Grilled Cheese

If you don't try anything I posted this week...try this. Please. Seriously, this could be one of the best sandwiches of all time. Its basically just a grilled cheese that has been taken up a notch on the sophistication scale, but every bit as easy to prepare. Imagine a slice of creamy cheese between two pieces of crusty garlic bread and dunked in warm marinara sauce. This is the snob of all grilled cheeses...a grilled cheese for grown-ups. I don't even know what else to say! Go forth and grill cheese!


Italian Grilled Cheese
  • 1 slice provolone cheese
  • 2 slices of crusty bread (regular sandwich bread will work fine too, but crusty is better!)
  • butter flavored cooking spray
  • garlic salt
Directions:
Spray one side of each bread slice with butter spray.
Sprinkle with garlic salt.
Heat a skillet on medium to medium high heat and spray butter in pan.
Place one slice of bread, garlic side down in the pan and add cheese on top.
Grill for 3-4 minutes until the bread is golden brown.
Add the other slice of bread, flip and repeat until that side is golden.
Serve with marinara sauce for dipping.

Wednesday, October 6, 2010

Buffalo Chicken Paninis

It seems right now that "Buffalo Chicken" anything is all the rage. I love a good bandwagon, so I'll jump right on! In all seriousness though, how could anything that starts with 'buffalo chicken' be anything but delicious?? Buffalo Chicken Dip is household favorite here, so I decided to start experimenting with other ways I could 'buffalize" (new word! I coined it!) some of my favorite meals. Panini's were a simple way to start. Chewy, crusty bread smothered with ranch dressing, melty cheese and spicy chicken...I think I can rest my case here.

Now, when it comes to panini's most people think they need a fancy machine to make one...wrong! Go ahead and dust off that George Foreman grill (no really, mine had actual dust on it) and it will work just fine. If you don't have a panini press or a Foreman grill, not to panic, all hope is still not lost. You can either cook the panini in a frying pan, grilled cheese style, and use something heavy like another pan to press down on the panini as it cooks. Or you can just put the sandwich on a baking sheet in a 350 oven for about 8-10 mins and everything will get melty and crispy just the same.


This recipe calls for about a cup of cooked chicken, which you can acquire a number of ways. Here is one of those opportunities when a store bought rotisserie chicken comes in handy in a big way. That is one of my absolute favorite time saving tricks! Just shred it up and you're ready to go. You can also use fully cooked store bought chicken strips, or you could even (gasp!) cook the chicken yourself!

Buffalo Chicken Panini

1C cooked, shredded or chopped chicken
1/2C hot sauce (I like Frank's!)
4T ranch dressing (or blue cheese if you prefer)
1/2C shredded cheese (I used Monterey Jack)
Crusty bread (You'll need a sturdy bread for these...foccacia, ciabatta, sourdough... any of those would work fine. I used a sourdough loaf)

Directions

1. Start by cutting your bread into 4 slices. Using your fingers, scoop out some of the bread from the middle, creating little "pockets" for the fillings.

2. Spread 1T of ranch on each slice of bread.

3. Next, heat 1/2C of hot sauce in a skillet over medium heat.

4. Add chicken and simmer for 10-15 minutes.

5. Divide 1/4C of cheese between each sandwich and top with chicken.

6. Assemble sandwich together and place on a hot George Foreman grill or panini press (or use directions above for oven/skillet) for 10-15 minutes until cheese is melted and bread has nice, golden lines.

7. DEVOUR!

Friday, October 1, 2010

Ham & Cheese Crescent Loaf

This recipe is really simple but absolutely delicious. Its a twist on your normal ham and cheese sandwich, but much more exciting. I used crescent roll dough that I pinched together to form a solid sheet. I hear though, that Pillsbury now has a seamless crescent dough sheet. And as I was pinching seams together I thought, "Gee, that seamless sheet would be really nice right about now." I'd definitely recommend trying out the seamless dough sheet for this recipe because it will make things much easier for you, but I worked with what I had and it turned out fine. I'm willing to bet this would be great at room temperature as well, making it ideal for a picnic or someone's lunch box!


Ham & Cheese Crescent Loaf


1 can (8oz) of crescent dinner rolls or seamless dough sheet
4 (large) slices of ham
4 slices of sliced provolone cheese
1/2C shredded sharp cheddar cheese (2%)
1T italian dressing
2T low fat mayo
flour

Directions:


Preheat oven to 375
1. Lightly flour your work surface and roll out dough. If using dinner roll dough, press the seams together.
2. Mix together mayo and italian dressing in a small bowl.
3. Spread the dressing mixture over the dough.
4. Lay out ham on dough, followed by sliced provolone and top with shredded cheddar.
5. Roll up the dough jelly roll style, start with the long end.
6. Once you have your roll, pinch the ends together so that all the goodies stay inside.
7. Bake at 375 for 15-20 mins until outside is golden brown.
8. Allow to cool and slice!