Showing posts with label Beef. Show all posts

Tuesday, January 11, 2011

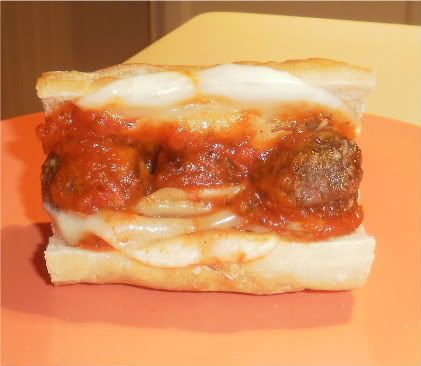
Italian Meatball Subs

I've been on quite the meatball kick ever since Sweet and Sour Meatballs. I never even considered making my own meatballs before starting this blog, especially when buying a frozen bag of them is so easy. The truth is that the first time I made them I just wanted to see if I could. Now, I don't think I'll ever go back to buying frozen meatballs. Sure, its the easy way out (which you know is a good thing in my book) but the taste doesn't even compare. From now on I will take the little extra time to make homemade meatballs!


Come on now, if I can do it, you can do it. Its as easy as mixing up the meat, shaping it into balls, and popping them in the oven. They freeze beautifully too, so you can whip up a big batch on the weekend and then freeze them until you're ready to use. It couldn't be easier!

 
Italian Meatball Subs
  • 1 lb ground beef
  • 1/2C italian style breadcrumbs (or regular breadcrumbs with 2t of italian seasoning)
  • 1t garlic salt
  • 1 egg
  • 1/4C parmesan/romano cheese
  • hoagie rolls
  • provolone cheese
  • marinara sauce
Directions:
Preheat oven to 400.
Mix first five ingredients together, form into balls and place on baking sheets.
Bake for 15-20 minutes, turning once if you wish.
Leave the oven on.
Split the hoagie roll, spoon marinara onto the bread, arrange meatballs and top with cheese.
Place the whole sandwich into the oven for 10 minutes or until cheese is melted and bread is slightly crisp.

Tuesday, January 4, 2011

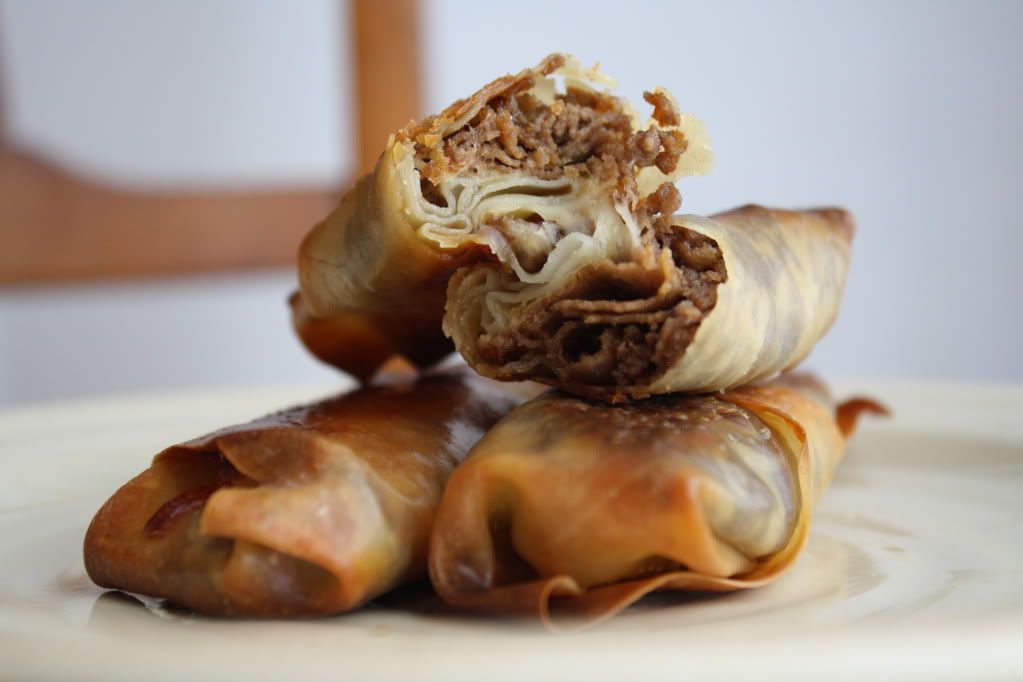
Steak & Cheese Egg Rolls

If you've been following my blog for any substantial amount of time now, you probably know that if its edible, I'll try to put it into egg roll form. A while ago, when I made Bacon Cheeseburger Egg Rolls for Once A Month Mom, someone commented on the post (thanks whoever you were!) and suggested cheese steak egg rolls. Not one to turn down an egg roll challenge, I got to work immediately!

Of course, I had to simplify the process as much as possible, so I utilized a fantastic frozen product known as Steak-Ums. If you don't like Steam-Ums you can stop reading now, if you do, please press on and I think you'll be happy with the end result. These are (like most of my recipes) incredibly easy. Plus, you'll save a few calories by replacing a carb loaded hoagie bun with calorie friendly egg roll wrappers. I swear this will cure your steak and cheese fix without making the waistline of your yoga pants scream for mercy. You're welcome, yoga pants!

Steak and Cheese Egg Rolls
  • egg roll wrappers
  • shredded provolone cheese
  • steak-ums

Directions:
There's not rocket science going on here! You'll need about two steak-um sheets per egg roll, so keeping in mind how many you want to make, fry up your steak-ums. Feel free to throw in whatever seasoning you have on hand (Montreal steak, some garlic, or even just salt and pepper). Then you'll line up your wrappers and fill them with some steak and shredded cheese, roll them up and place on a sprayed baking sheet. Bake at 400 for about 15-20 minutes, turning once to brown both sides. Dip them in mayo or ketchup!

Thursday, December 9, 2010

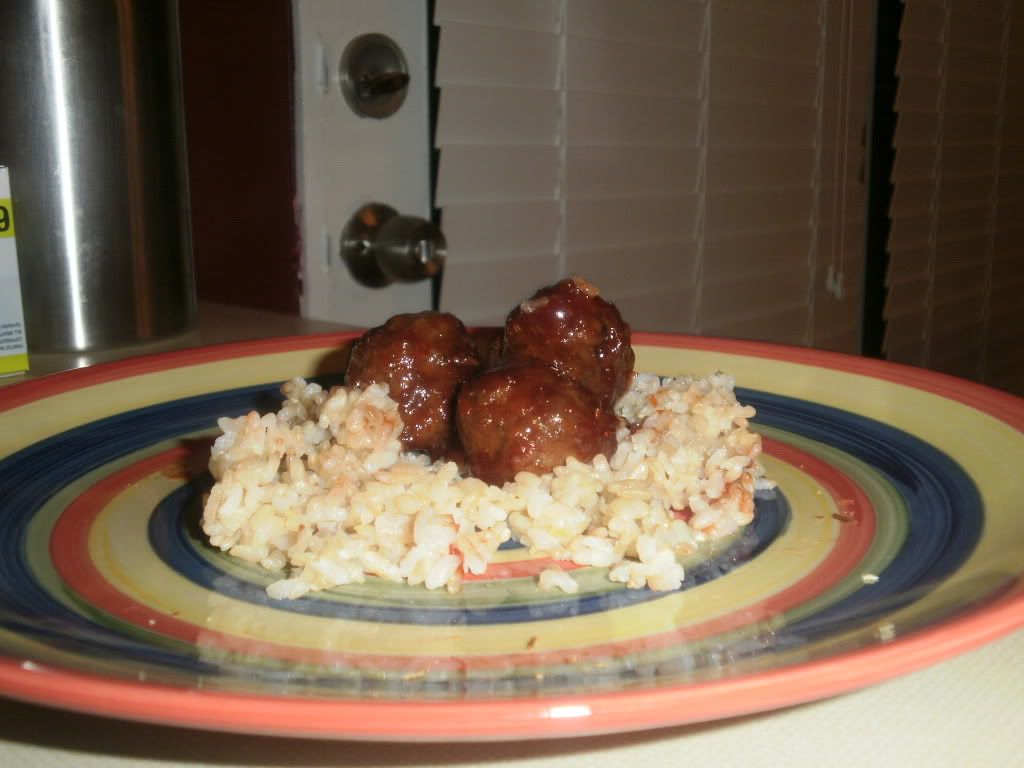
Sweet and Sour Meatballs

As I go along my little blogging journey, I am amazed at all the simple things that I've never attempted cooking before. In all the years I've been experimenting, some of the most basic things have eluded me. One such item being, the meatball. My friend Judy recently asked about making breadcrumbs from real bread (a task I've only attempted a couple of times due to my lazy nature) and told me she planned to use them for homemade meatballs.


Since starting the blog, I find myself on high alert for possible new items I can experiment with. When Judy said meatballs, my blogging light bulb went off. She shared her basic recipe for making meatballs (thanks, Judy!), which I've only tweaked a little. This is more of  recipe suggestion for the meatballs, but the possibilities with these are endless...you could use them for spaghetti, on salad, as appetizers, meatball subs... I personally enjoyed several of them right out of the oven, when no one was looking. I'm really excited about the success of my first homemade meatball attempt, so you'll be seeing lots of fun twists on meatballs in the very near future!

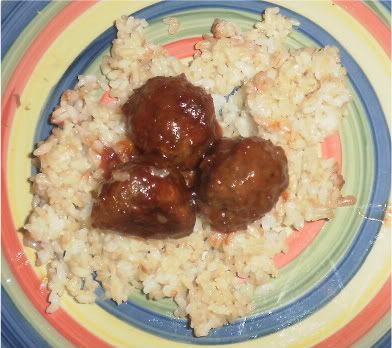
 This sweet and sour sauce is not my original creation. You've probably made or at least heard of this combination, I think its as old as time. Its most commonly made in the crock pot with the meatballs tossed in and served as an appetizer or a snack. I'm basically doing the same thing here, but serving the meatballs and sauce over rice to turn it into a meal! This was so tasty and everyone cleaned their plates!


Sweet and Sour Meatballs
  • 1.5-2lbs lean ground beef
  • 2t montreal steak seasoning
  • 2T Worcestershire sauce
  • 2T ketchup
  • 2 eggs
  • 1/2-3/4C breadcrumbs (you may have to add more or less)
  • 1 bottle chili sauce
  • 1 jar grape jelly
  • optional: rice to serve with meatballs and sauce (I used brown rice.)

Directions:
Preheat oven to 375.
Mix all ingredients until well incorporated.
Roll into balls and place on a baking sheet.
Bake for 20-30 minutes until done.
Heat chili sauce and grape jelly in a large pot until warm, toss in meatballs and simmer until coated.
Serve over rice or with toothpicks for an appetizer.

Thursday, November 18, 2010

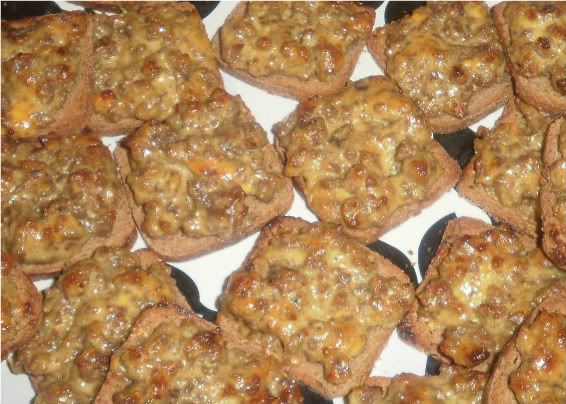
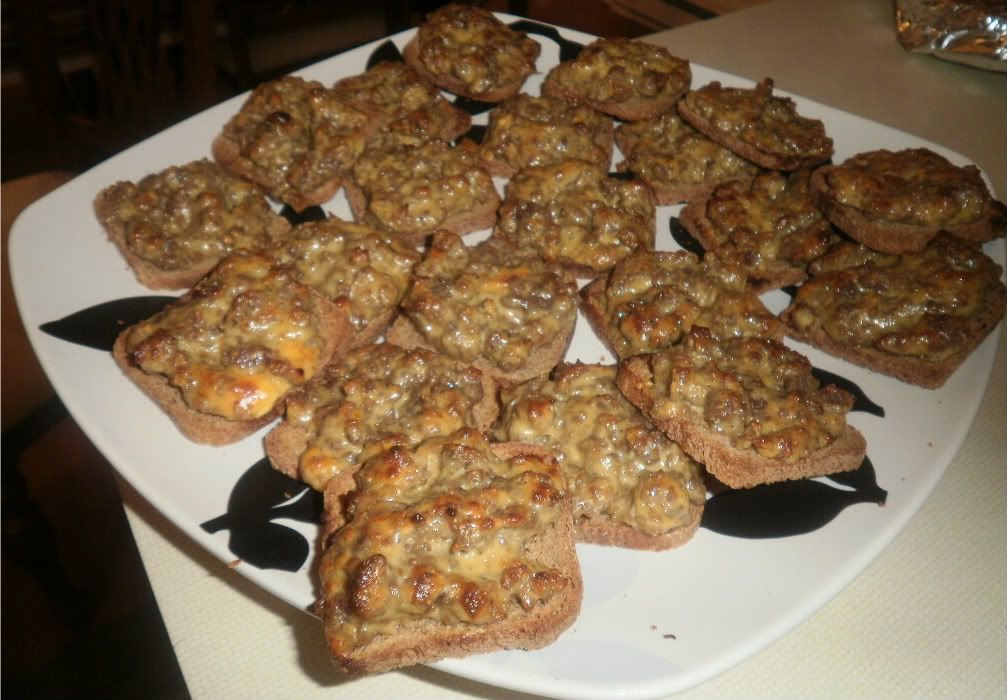
Sausage Cocktail Squares

These have been a favorite snack of mine since I was a little girl. My mom and my grandma used to make them for parties, Thanksgiving, and sometimes just for fun. We've been making them so long in fact, that I had to ask my mom to tell me their technical name! I always refer to them as "those sausage things" and everyone knows what I mean.


These may appear strange, but after you make them and fall in love, I'll be waiting to accept your full apology for doubting me. If you wanted to bake me some cookies or something too, I wouldn't stop you.


These would be the perfect substitute for sausage balls if you're looking to change it up. We sometimes have sausage balls sitting around to snack on Thanksgiving Day, but these would be the perfect substitute if you want to try something new. The nice thing about this little finger foods is that they can still be enjoyed at room temperature. They are best straight from the oven, but you won't have to worry about reheating them every 20 minutes because they'll taste fine even after sitting out. I'd be willing to be you they won't be around long enough to see room temperature though!

Sausage Cocktail Squares
  • 1 package rye cocktail bread
  • 1lb sausage (spicy, mild, any flavor you like)
  • 1lb ground beef
  • 1 block Velveeta
  • 1T worchesterchire sauce
  • 1t garlic powder

 Directions:
Place sausage and ground beef in a large skillet to brown.
Add worcestershire sauce and garlic powder.
While that's cooking, cut up the velveeta into small cubes and place in large microwave safe bowl.
After the sausage/ground beef mixture has cooked completely, add it to the bowl with the velveeta and microwave in 1 minute intervals, stirring in between, until cheese is completely melted.
Place cocktail bread in a single layer on a baking sheet (you'll likely need 2 or 3 baking sheets).
Place about 2T of the meat mixture on the bread and spread it around to cover the surface of the bread.
Once all the bread has been topped, flash freeze them for 10 minutes. (You can keep them in the freezer until you are ready to cook if you'd like or if you plan to cook them right away, leave them in for at least 10 mins.)
Preheat your oven to broil.
Allow sausage square to broil for 5-10 minutes until the top gets bubbly and brown. Watch them, it happens fast!


Tuesday, November 9, 2010

Beef Stroganoff

You know you have truly become a food blogger when your family says, "Can we eat dinner yet, or do you still have to take a picture?"


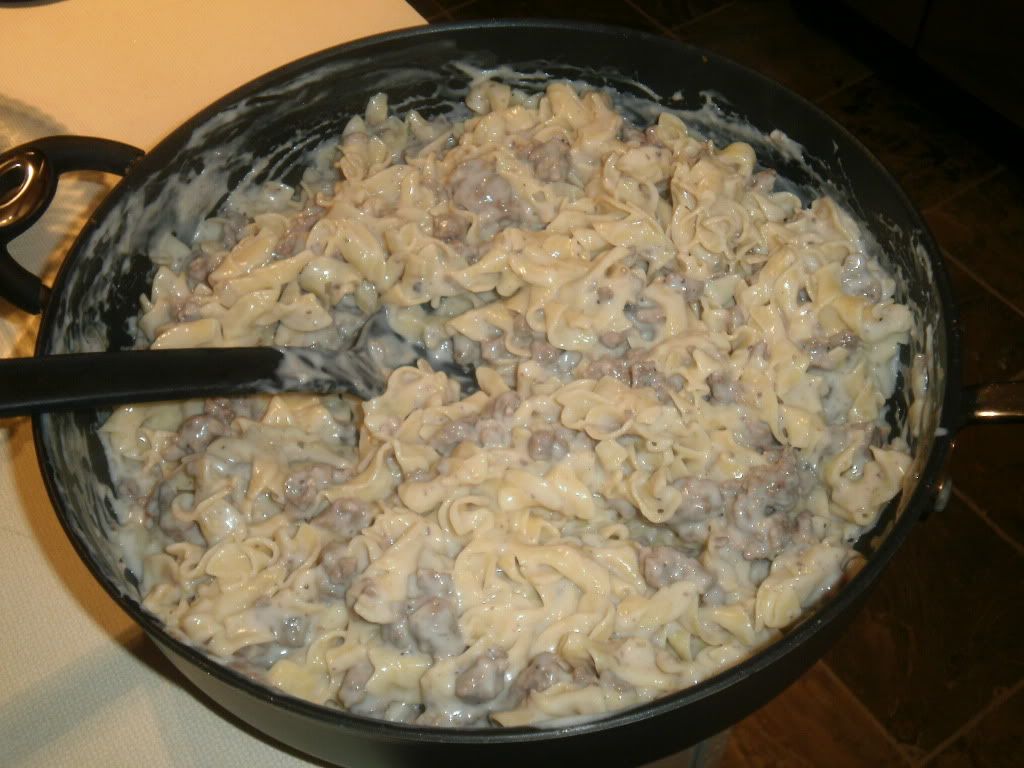
Well, lucky for the family they didn't have to wait too long to dig in to this dinner because I knew there wasn't a chance I was going to get a great photo. Beef stroganoff just isn't very pretty, especially when photographed with my camera. It's a nice little point and shoot camera that does a great job with every day shots, but its just not made for close-up, detailed food photography. One day I will save up enough for my dream camera and blow you guys away with beautiful pictures. Until then, mediocre ones will have to do!


This meal is one I've been making for as long as I can remember. My mom used to make a version of beef stroganoff very similar to this one and it was one of the first things I made on my own. I can't think of a single time I've made this dish and haven't gotten compliments. I don't care what people say about canned soups, this recipe is so good. Its always a huge hit and we rotate it into our dinner plans here about once every other week. If I go too long without making it, the kids start putting in requests! I hope it becomes part of your rotation too!

Beef Stroganoff
  • 16oz egg noodles
  • 1lb lean ground beef (or turkey will work too)
  • 1 large (26oz) can cream of mushroom soup (I used the 98% fat free kind)
  • 16oz container of low fat sour cream
  • 1t Montreal steak seasoning (or you can simply use salt, pepper and garlic powder)
  • 1/4C milk
 Directions:
Cook noodles according to package directions.
Brown beef in a large skillet with Montreal steak seasoning until cooked.
Add soup, sour cream and milk.
Stir until incorporated.
Mix in noodles and serve!

Wednesday, October 13, 2010

Cheeseburger & Fries Casserole GUEST BLOG!

Today I am very excited to direct you to a different blog for my recipe of the day! One of my favorite food blogs, TJs Test Kitchen, invited me to guest post a recipe over there and I'm just thrilled! TJ's blog focuses on healthy eating and counting Weight Watcher points. She has fantastic ideas and recipes. Not only that, she's an inspiration, having lost over 70 pounds so far. How awesome is that? Head over to TJ's blog and check out her recipes along with my recipe of the day...Cheeseburger and Fries Casserole!


Thursday, October 7, 2010

Shepherd's Pie Meatloaf Muffins

I've been making Meatloaf Muffins for many years now. Its a recipe I acquired back when I started the Weight Watchers program. Those following the program enjoyed this recipe particularly because of the ease of portion control and the low points value. Long after I stopped doing WW, I continued making these muffins because low calorie or not, these things ROCK!

Recently, I was talking to my good friend Jamie (also a long-time lover of meatloaf muffins) about the start up of my blog and the brainstorming of new recipes, and she suggested that I feature Meatloaf Muffins with mashed potatoes on top. Genius! We usually have mashed potatoes on the side when I make these anyway, why not combine the two? Then I thought, with a sprinkle of cheese on top they would be almost like mini Shepherd's Pie's! And so, today's recipe was born.

If you're interested in making the traditional Meatloaf Muffins, you can do so by following the same recipe, omitting the mashed potatoes and cheese, and putting a dab of ketchup on top instead. I made half and half with this batch, but I posted the recipe as all Shepherd's Pie muffins. Try it however you like! Either way, I promise you are going to be making this again and again!

Does he look like a happy little guy!?


While the traditional meatloaf muffins don't look terribly appetizing,
I promise they are absolutely delicious!

One big happy family!

Shepherd's Pie/Meatloaf Muffins
(serves 12)

To make traditional meatloaf muffins, omit mashed potatoes and cheese and put 1t of ketchup on the top of each muffin before baking.

1lb ground beef or turkey
1 package Stove Top stuffing
1 egg white
1/2C water
1.5C prepared mashed potatoes (shhh, I won't tell anyone you made them from a box if you won't!)
3/4C shredded cheddar cheese

Directions:
Preheat oven to 375
1. Mix together first 4 ingredients until well incorporated. Its time to get your hands dirty!
2. Divide the meatloaf mixture between 12 muffin cups.
3. Spread 2T of mashed potatoes on top of each muffin.
4. Top with 1T of shredded cheese.
5. Bake at 375 for 30-35 minutes, until center is no longer pink.